From CAD to PDF in Seconds: The Ultimate Batch Export Hack
Say goodbye to repetitive, tedious exporting. Here is the absolute fastest way to process your drawings
Tired of wasting hours exporting CAD sheets one by one? With CAD Reader’s Batch Export PDF feature, you can convert dozens of drawings into PDFs in just a few clicks. Saving time, reducing mistakes, and ensuring a smoother workflow.
Exporting CAD drawings one by one is a slow, repetitive task that drains productivity. Engineers and contractors often waste hours manually converting each sheet into PDF format, especially when dealing with large projects containing dozens of layouts.
Step-by-Step Guide:
1. Download the latest CAD Reader version for Windows: https://dwg.fastcadreader.com, then launch the software
2. Subscribe to VIP membership to unlock the ‘Batch Export PDF’ feature: https://club.fastcadreader.com/question/detail/286/how-to-upgrade-to-vip-membership-in-cad-reader
(VIP membership works across Windows, macOS, iOS, and Android.)
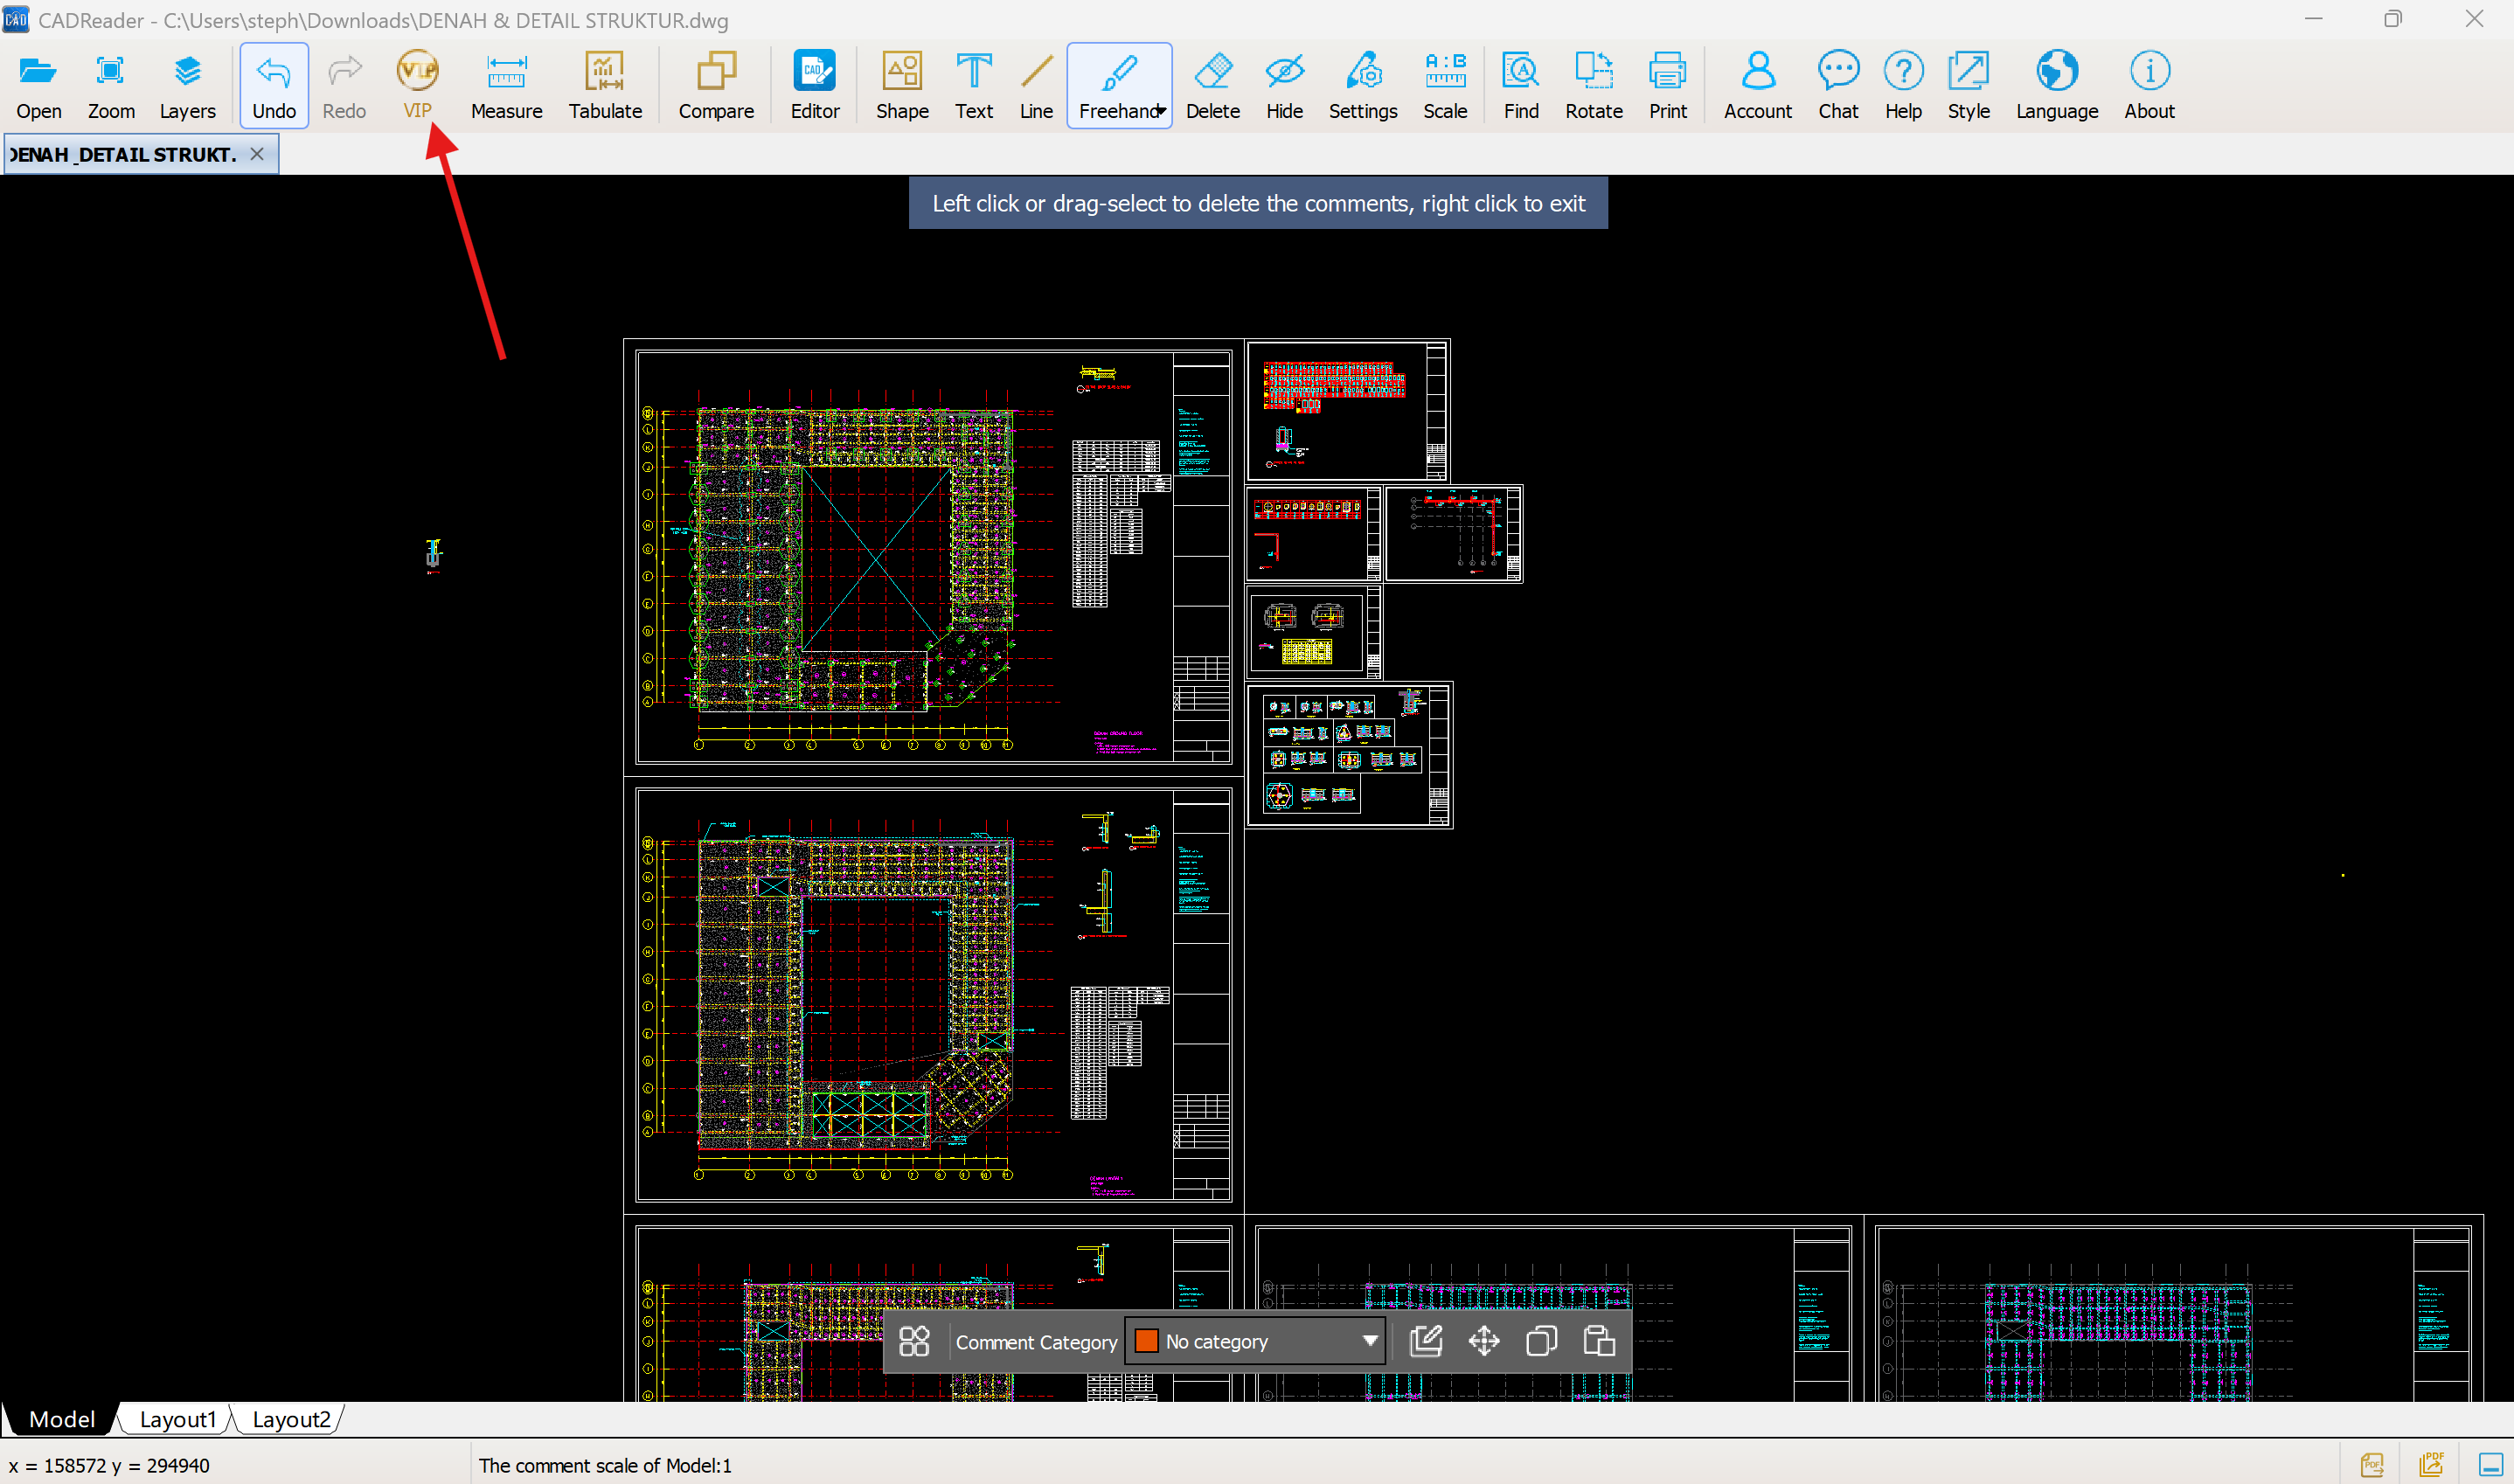
3. Navigate to the top toolbar and click on the VIP tab.
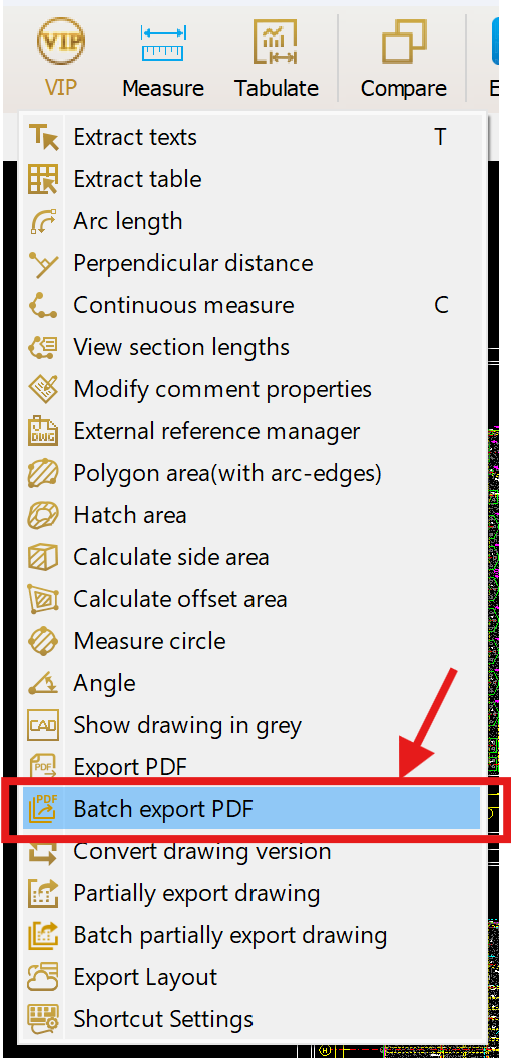
4. Select Batch Export PDF from the drop-down menu.
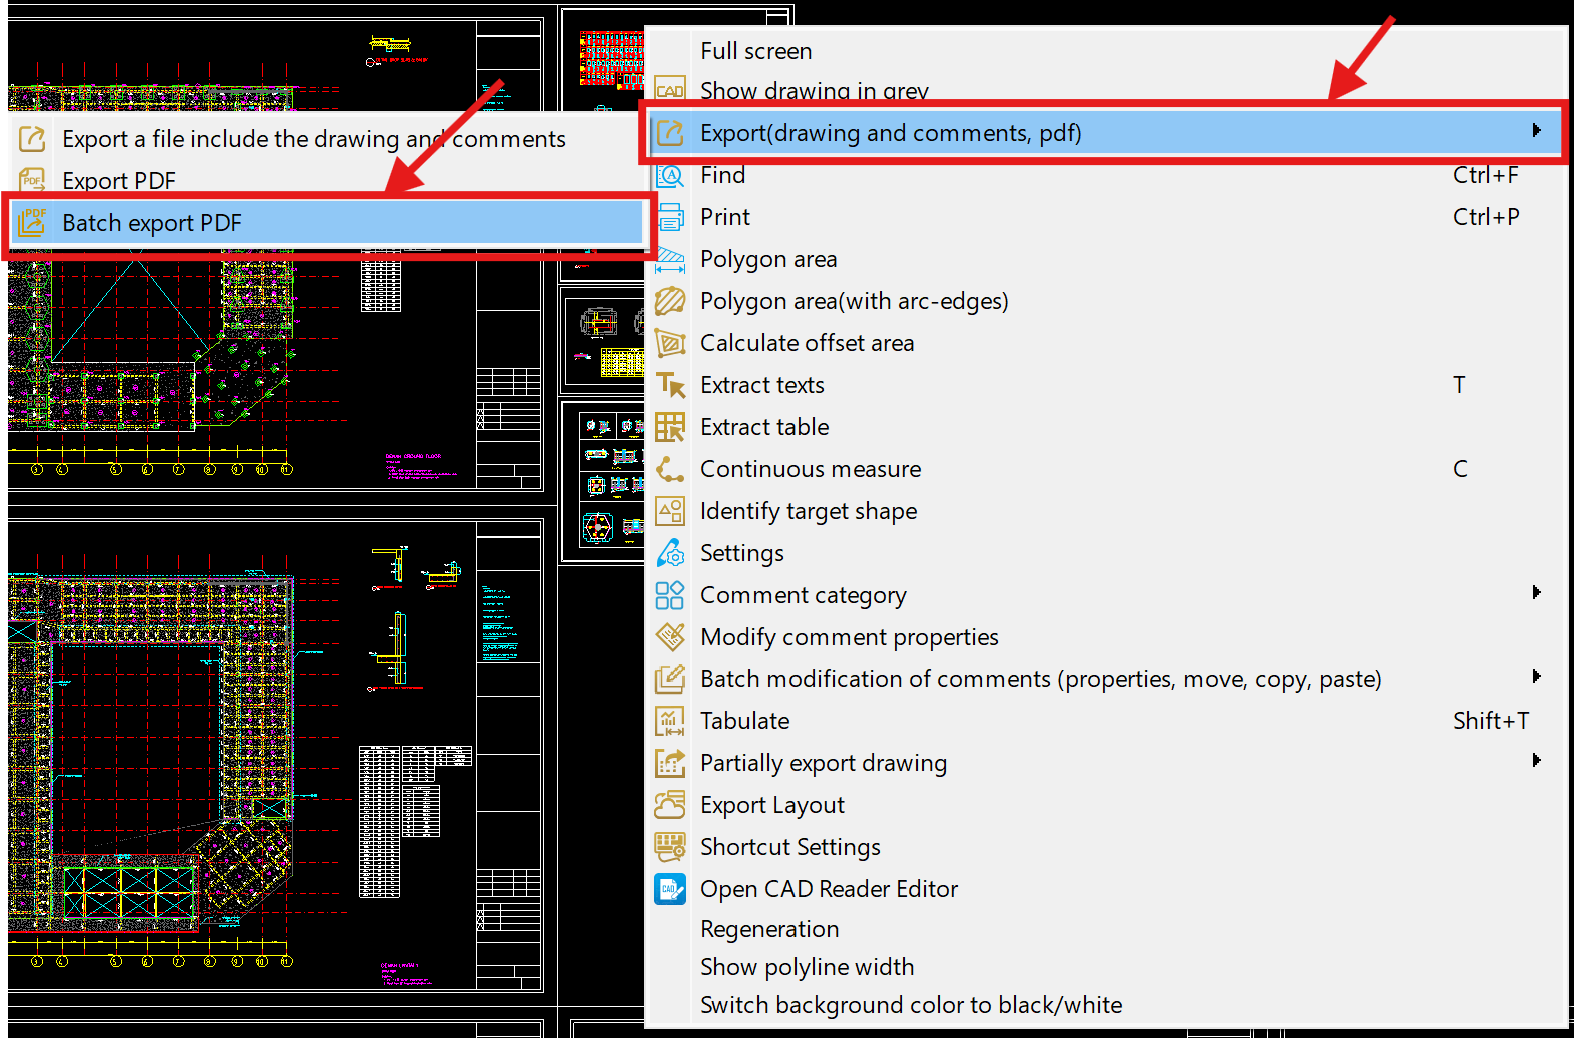
5. Alternatively, right‑click on the screen, hover over Export(drawing and comments, pdf), then select Batch Export PDF from the drop‑down menu.
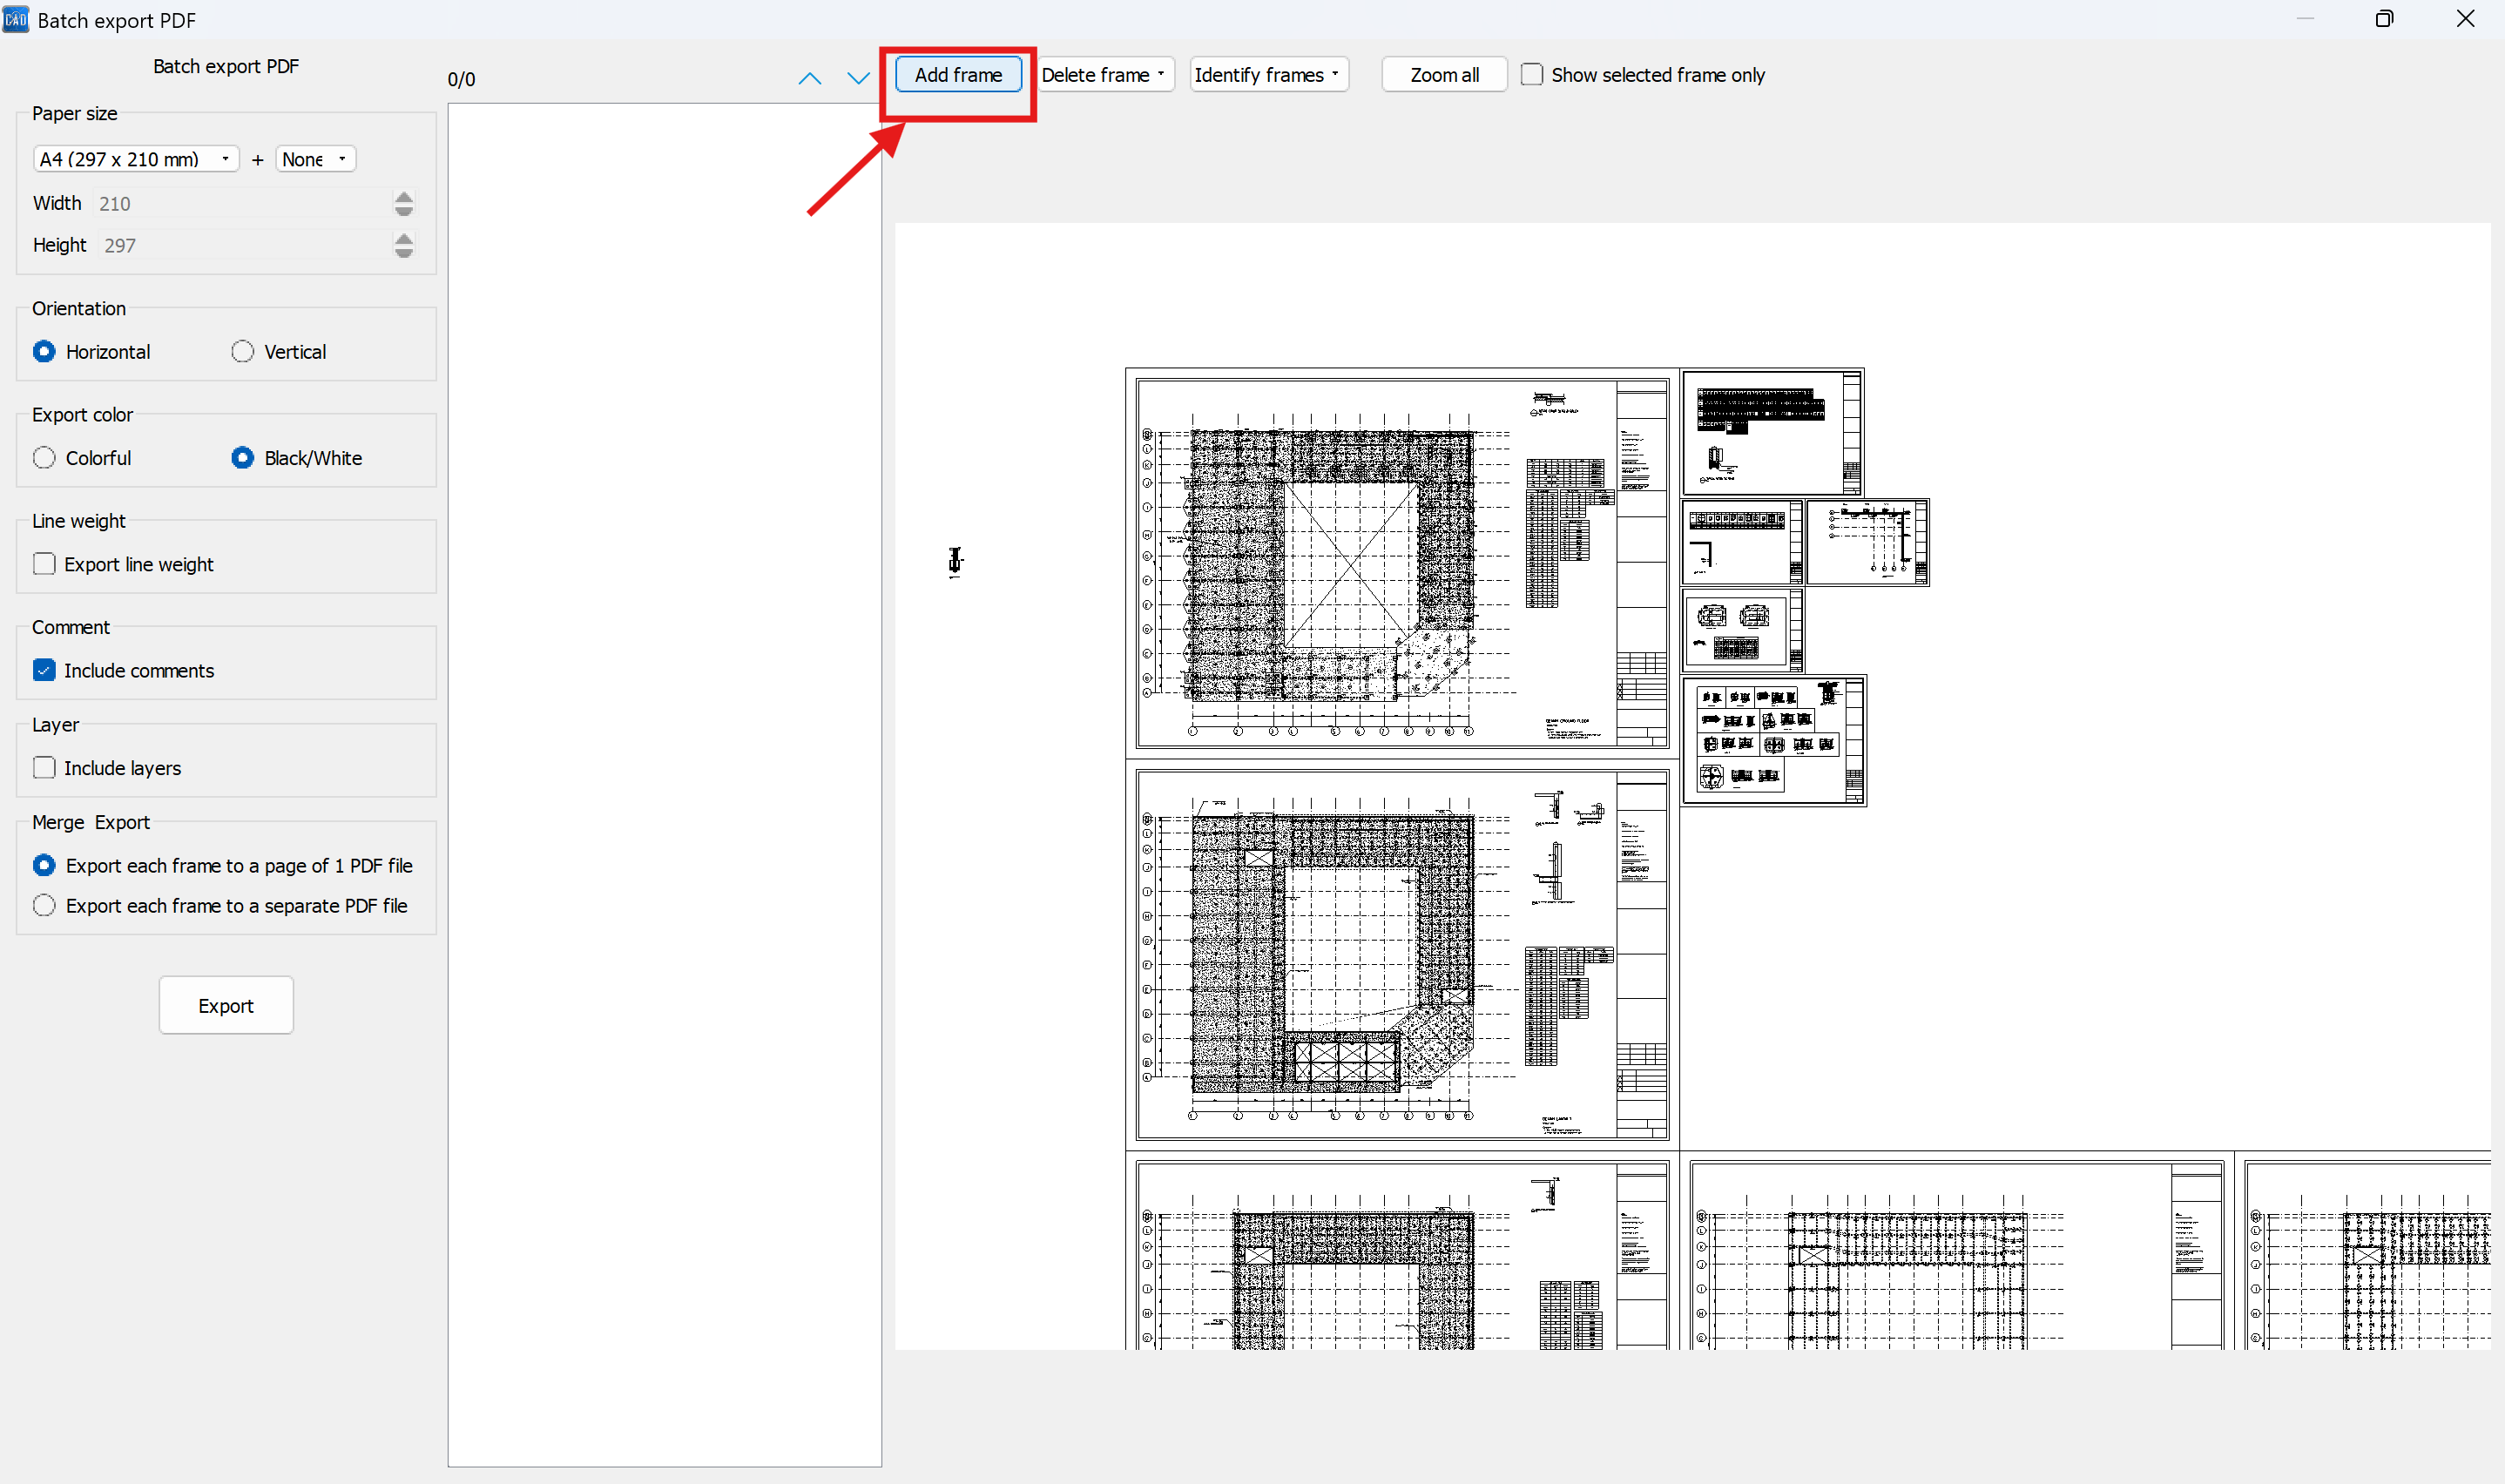
6. Manual Selection: Click Add Frame, then click and drag a selection box exactly around the frame you want to extract.
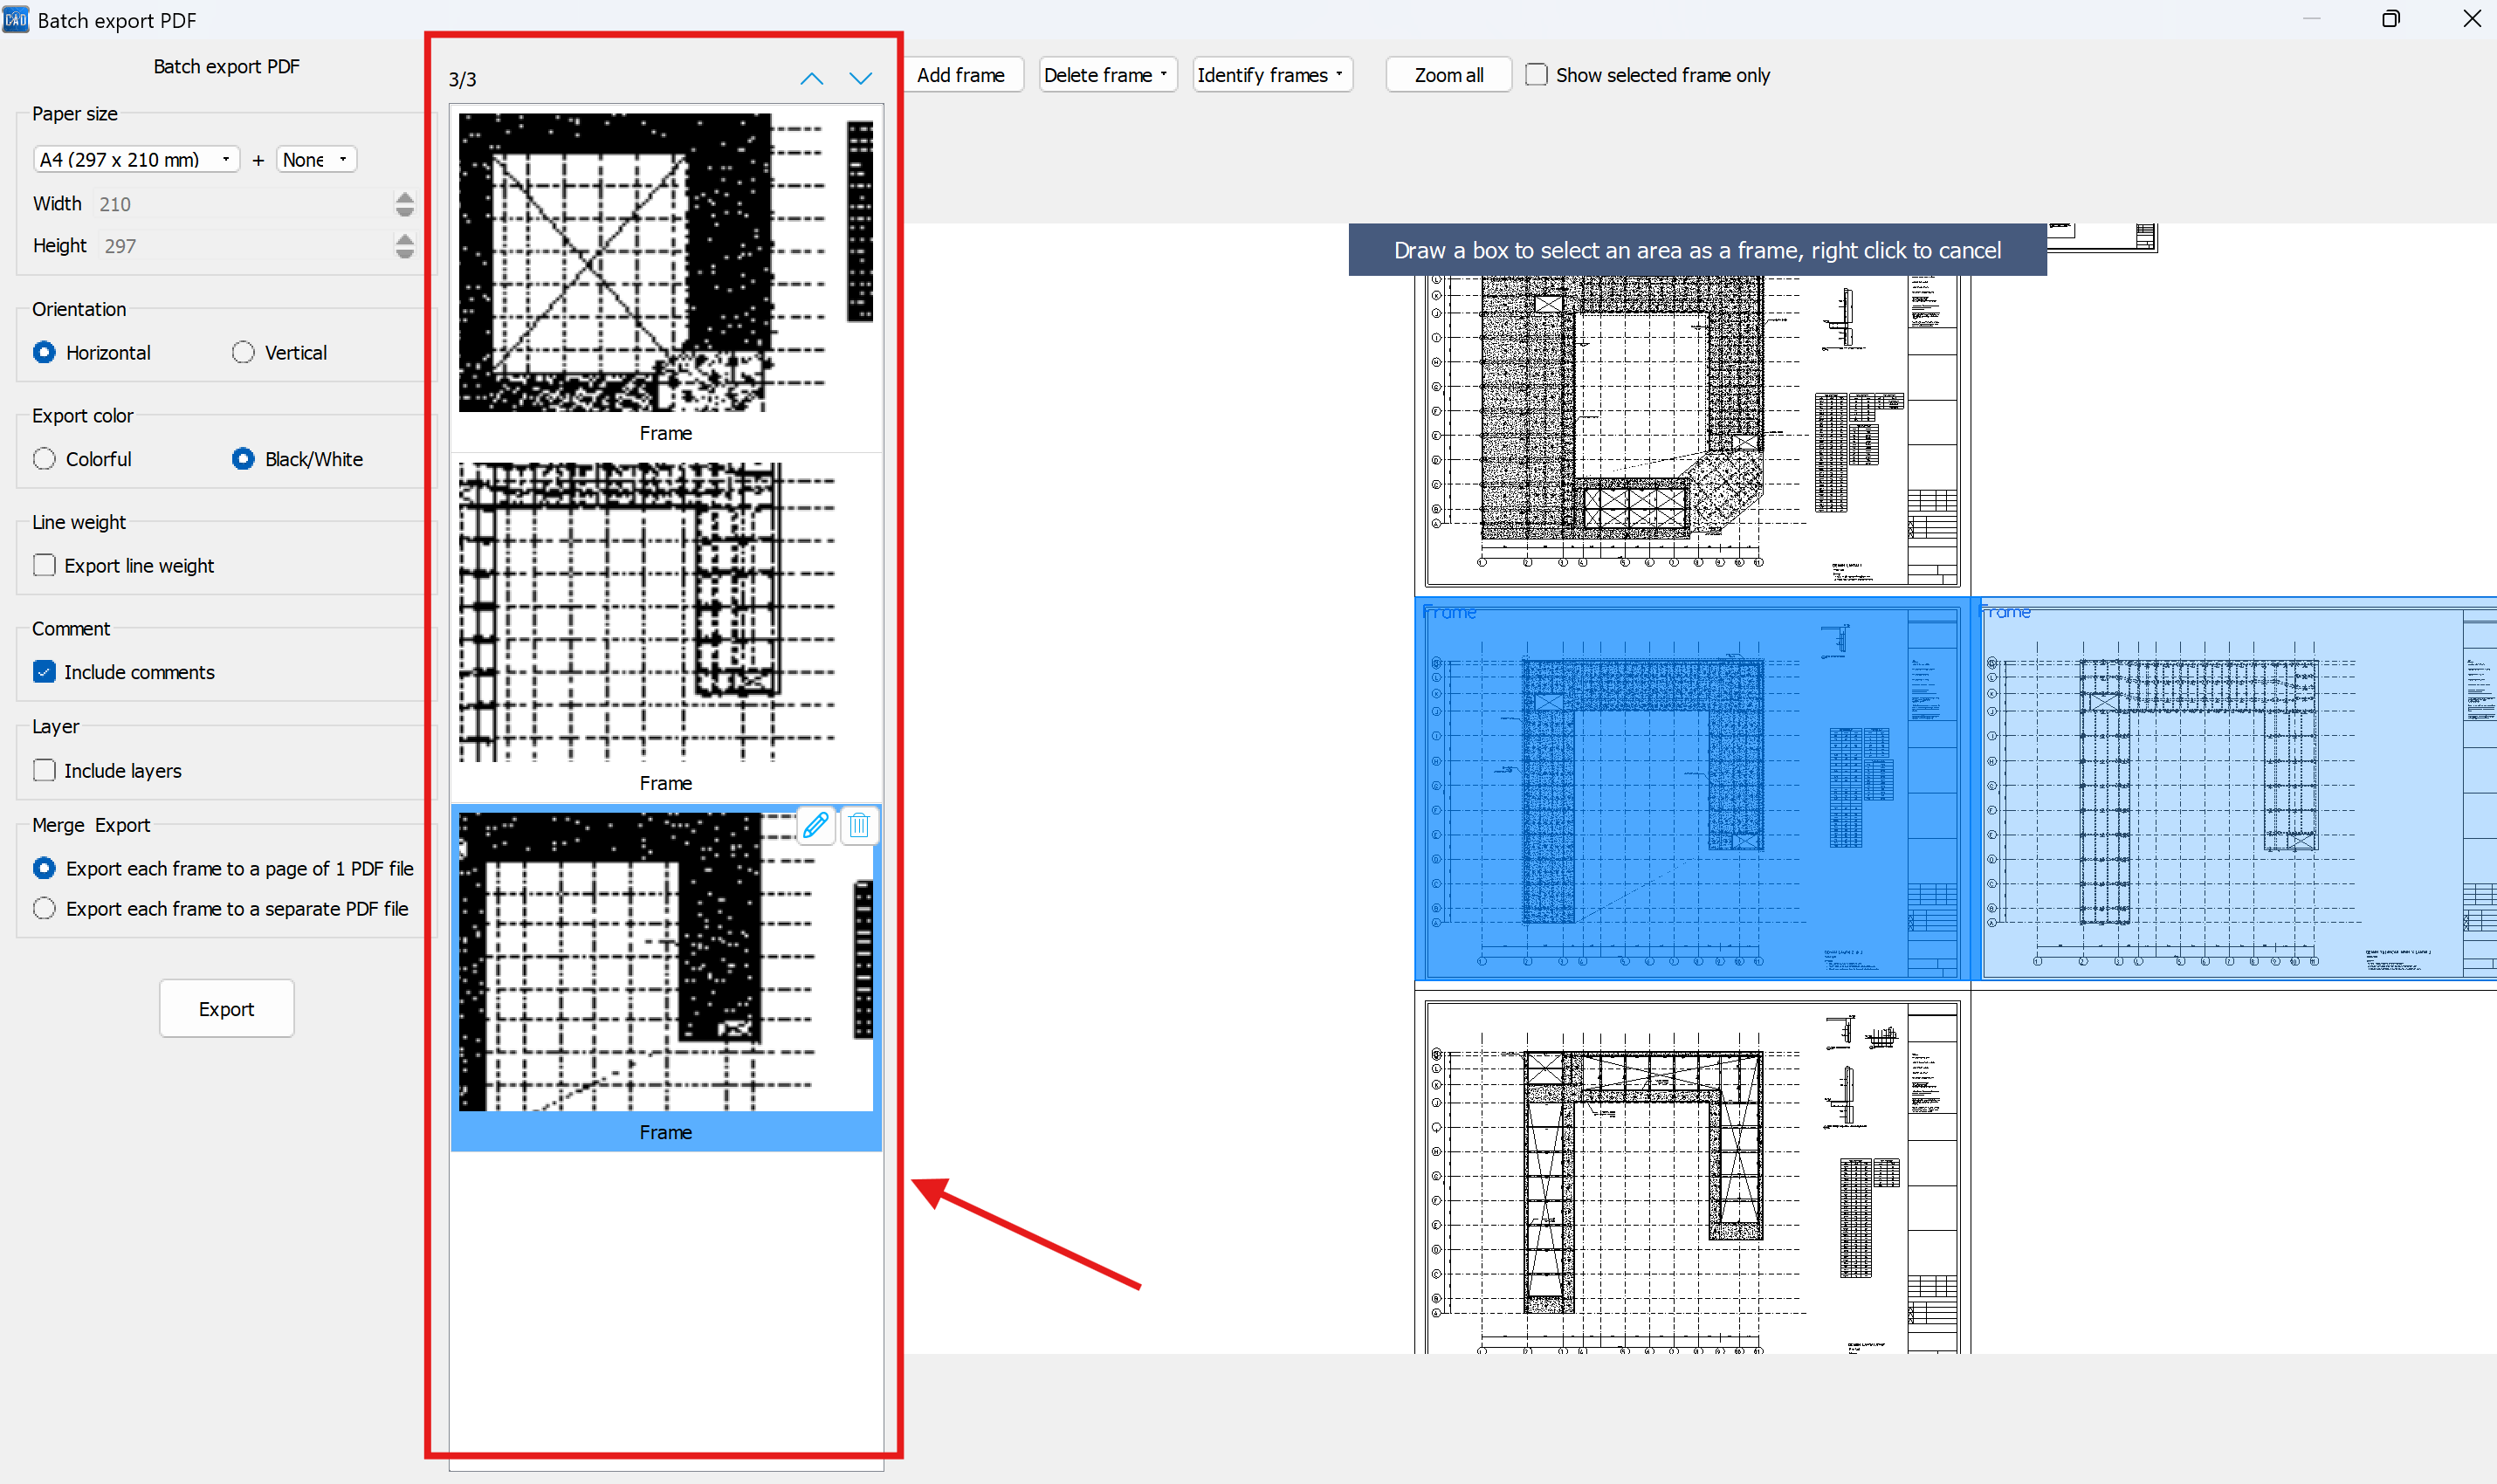
7. Look at the Preview Panel on the left to confirm all your selected sheets appear correctly.
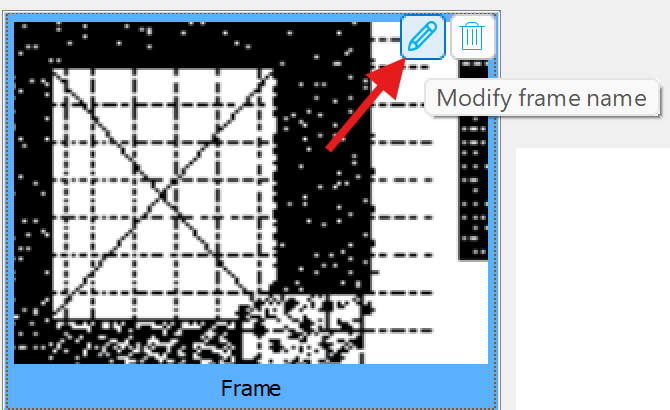
8. Ensure your export names are correct. To edit, hover your mouse over a sheet in the preview panel and click Modify Frame Name.
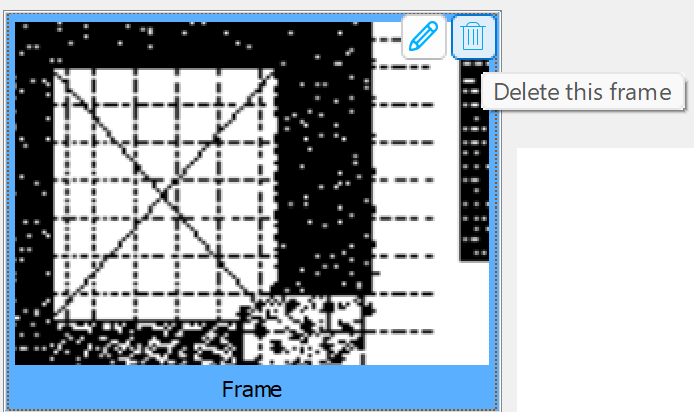
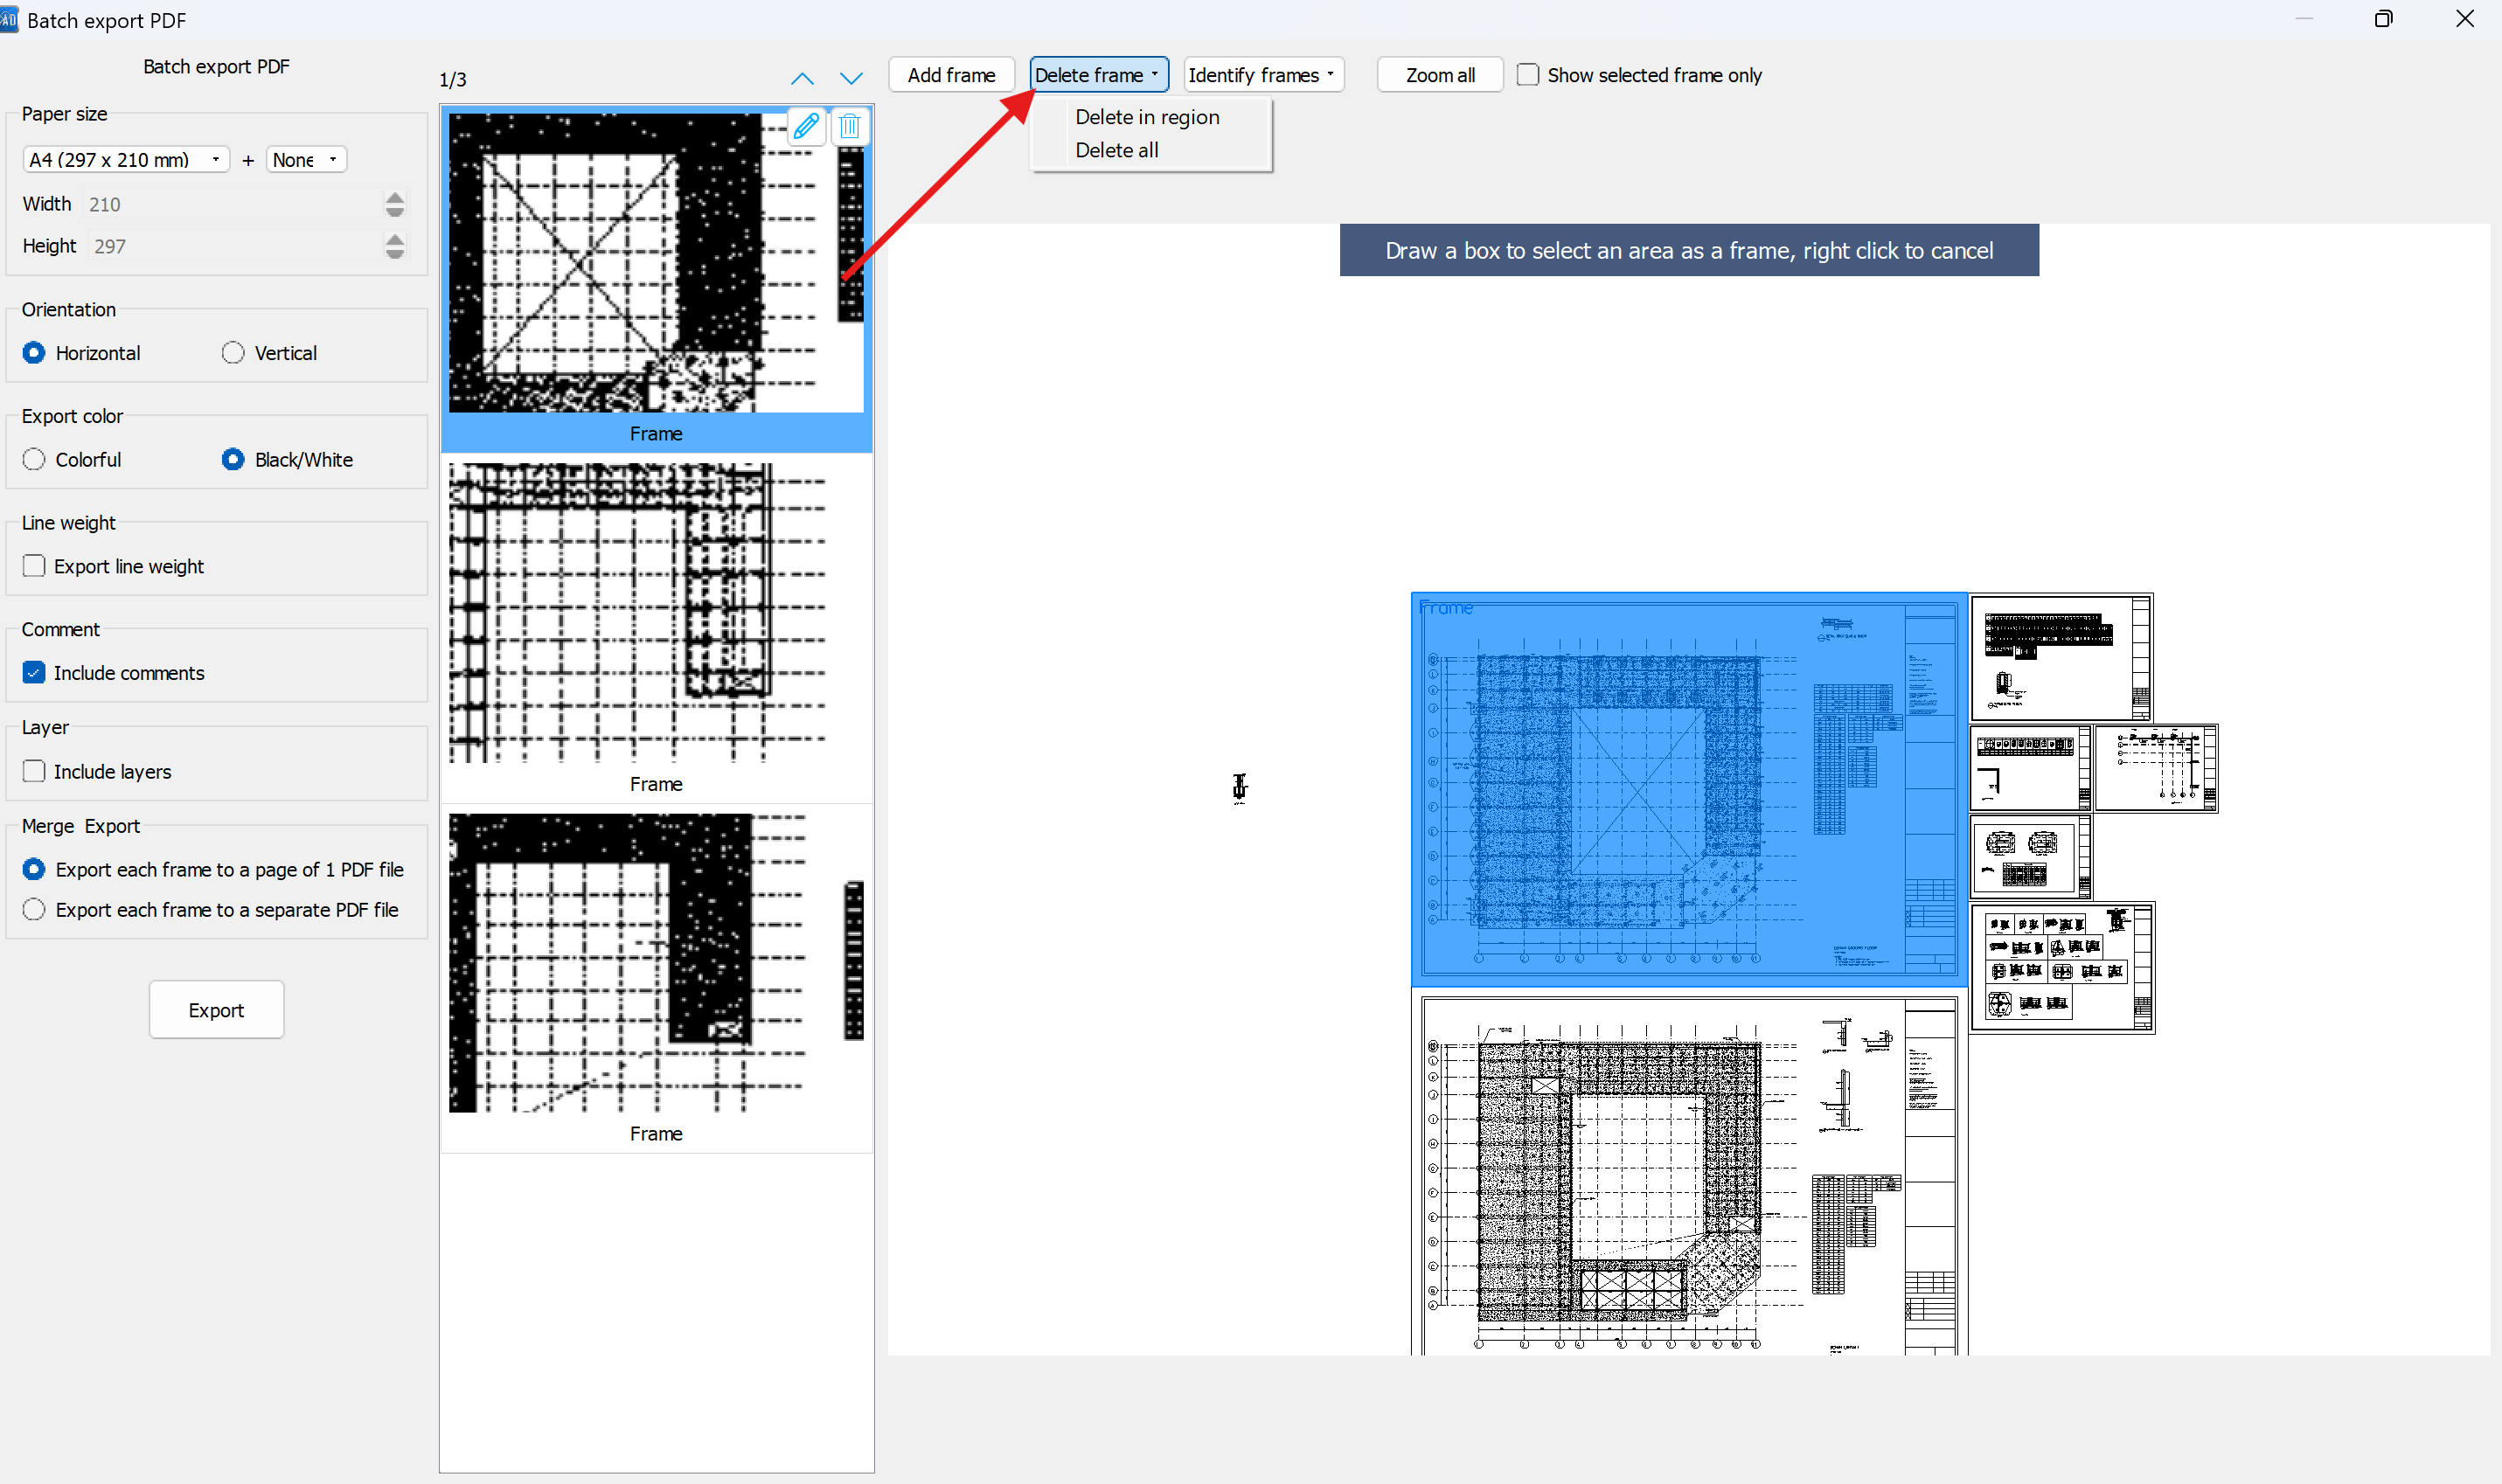
9. Hover over an unwanted sheet and click Delete This Frame to exclude it from the final export.
10. Alternatively, use the main Delete Frame tool to bulk-delete all frames or clear frames within a specific region.
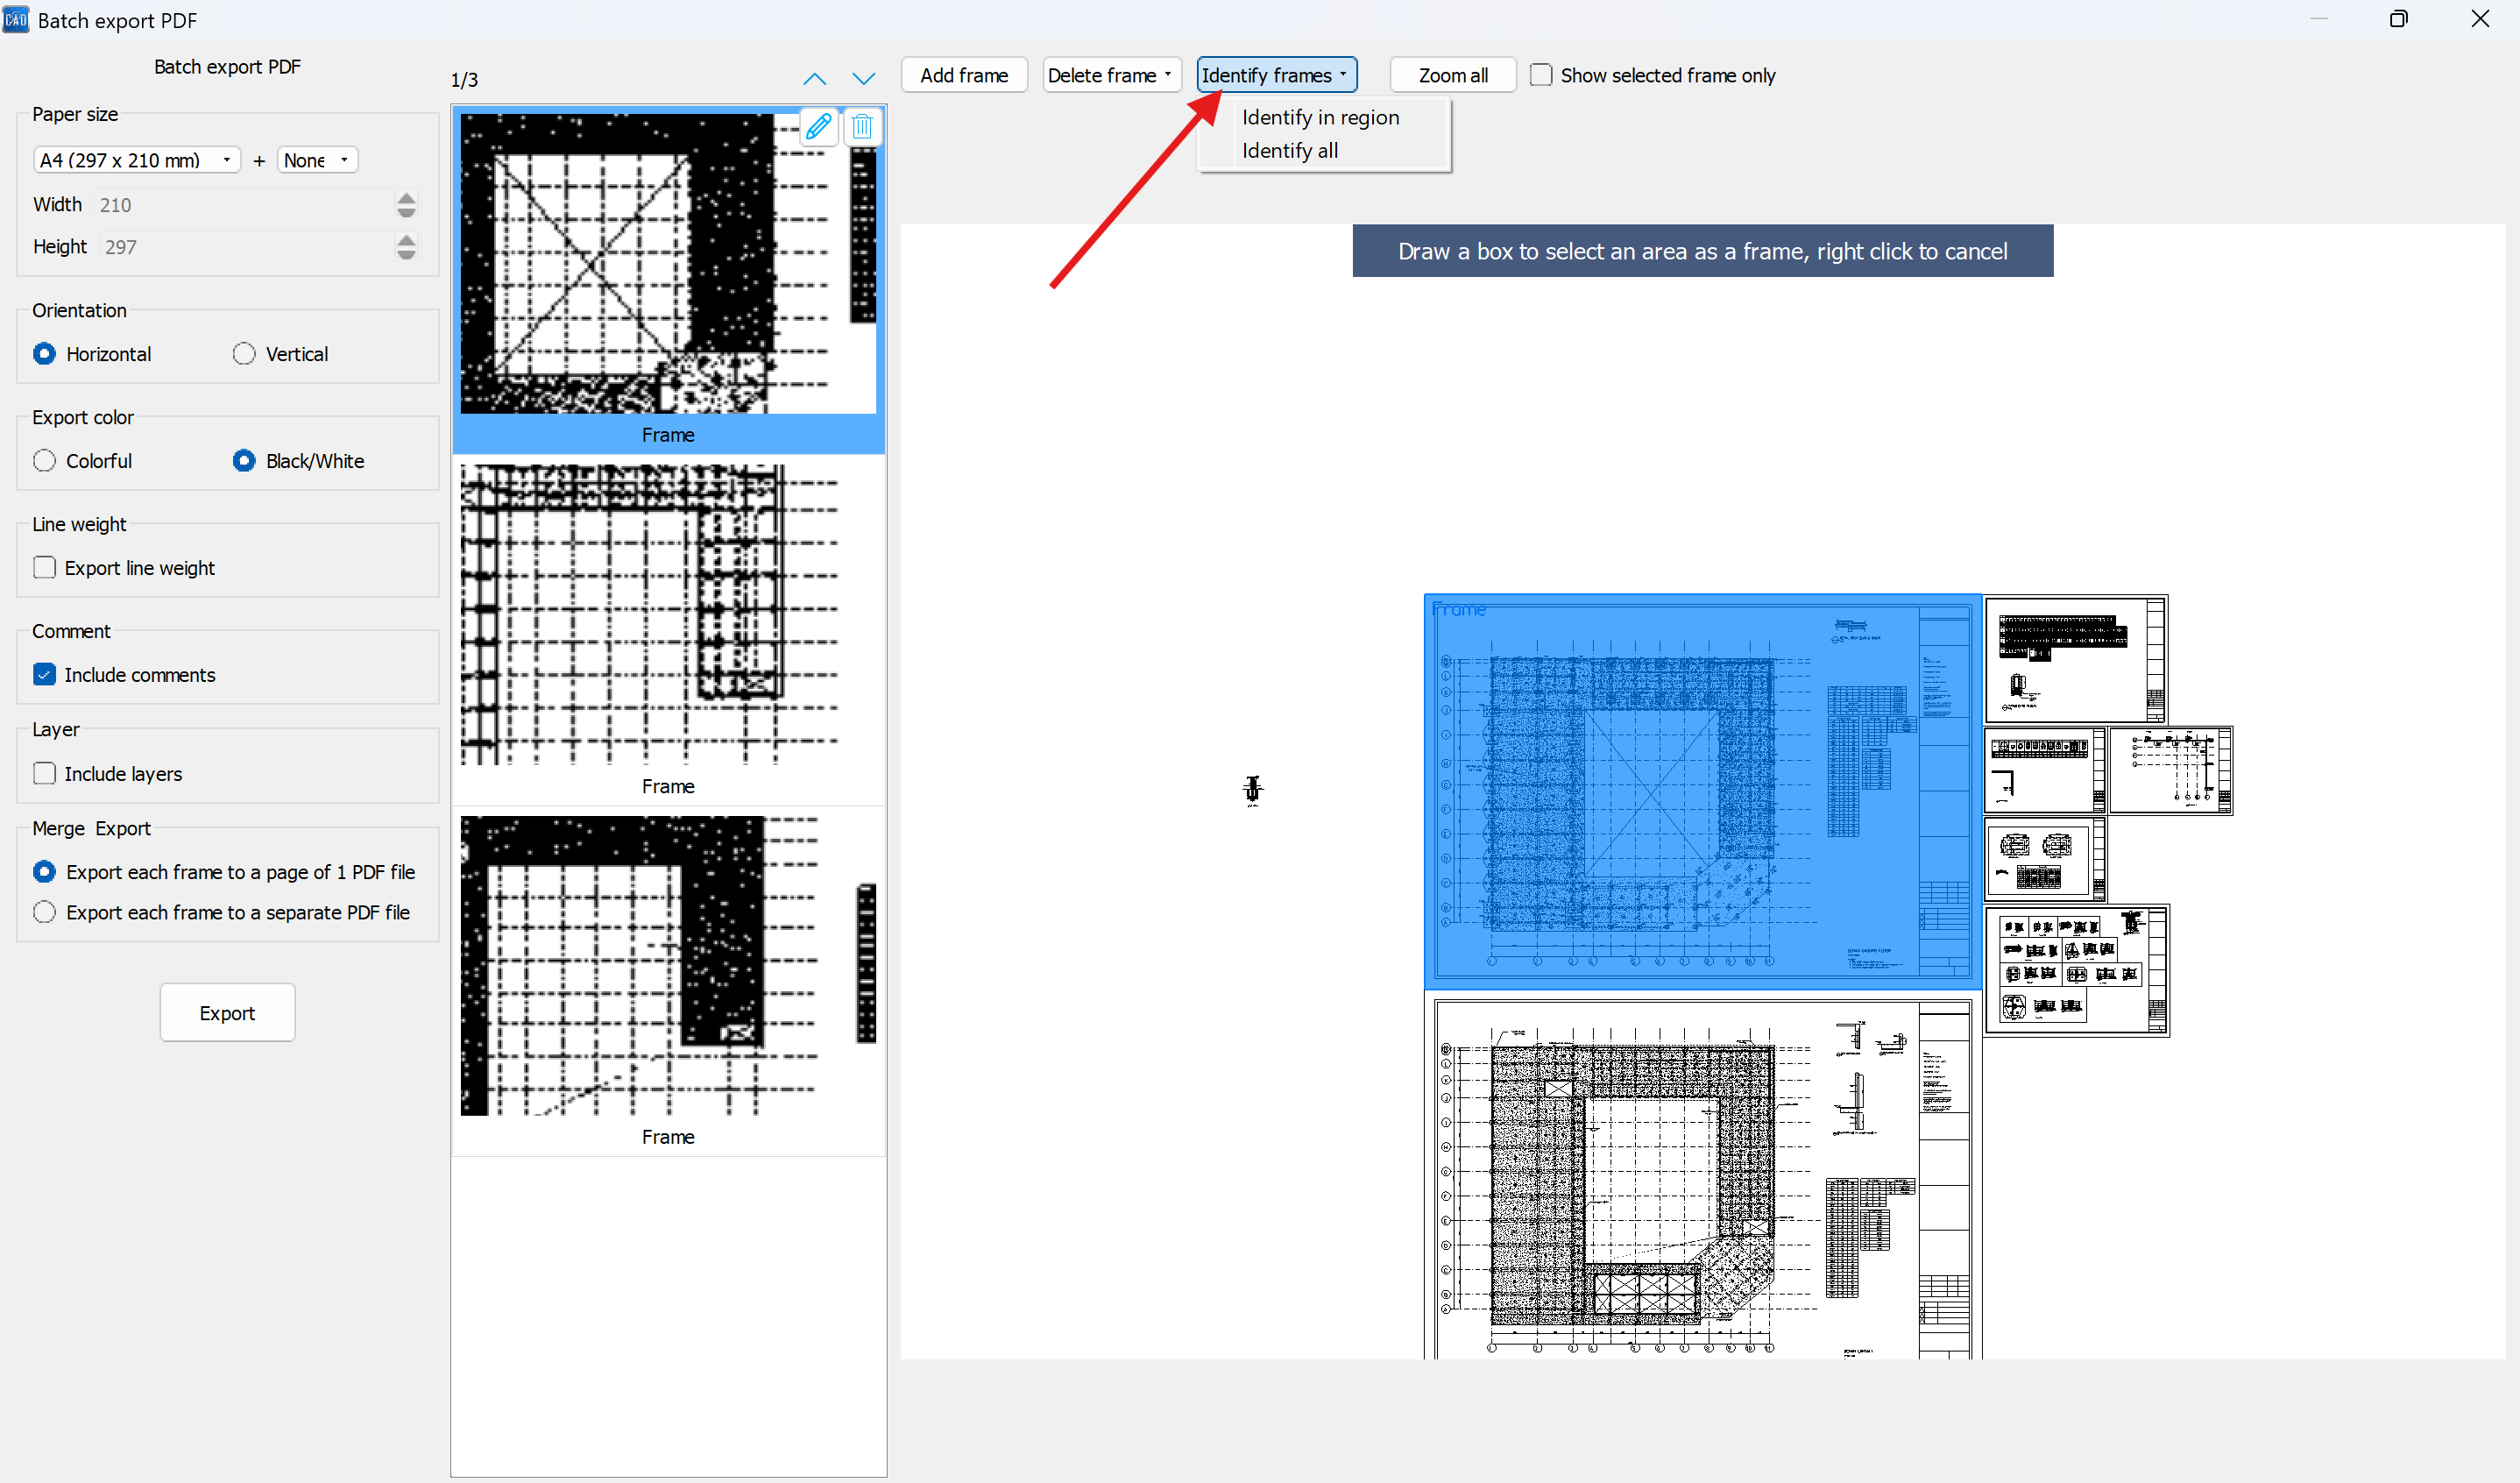
11. Click on ‘Identify frames’ to select:
Identify in region: Manually drag a box around a specific area for the software to scan.
Identify all: Allow the software to automatically scan the entire workspace for frames.
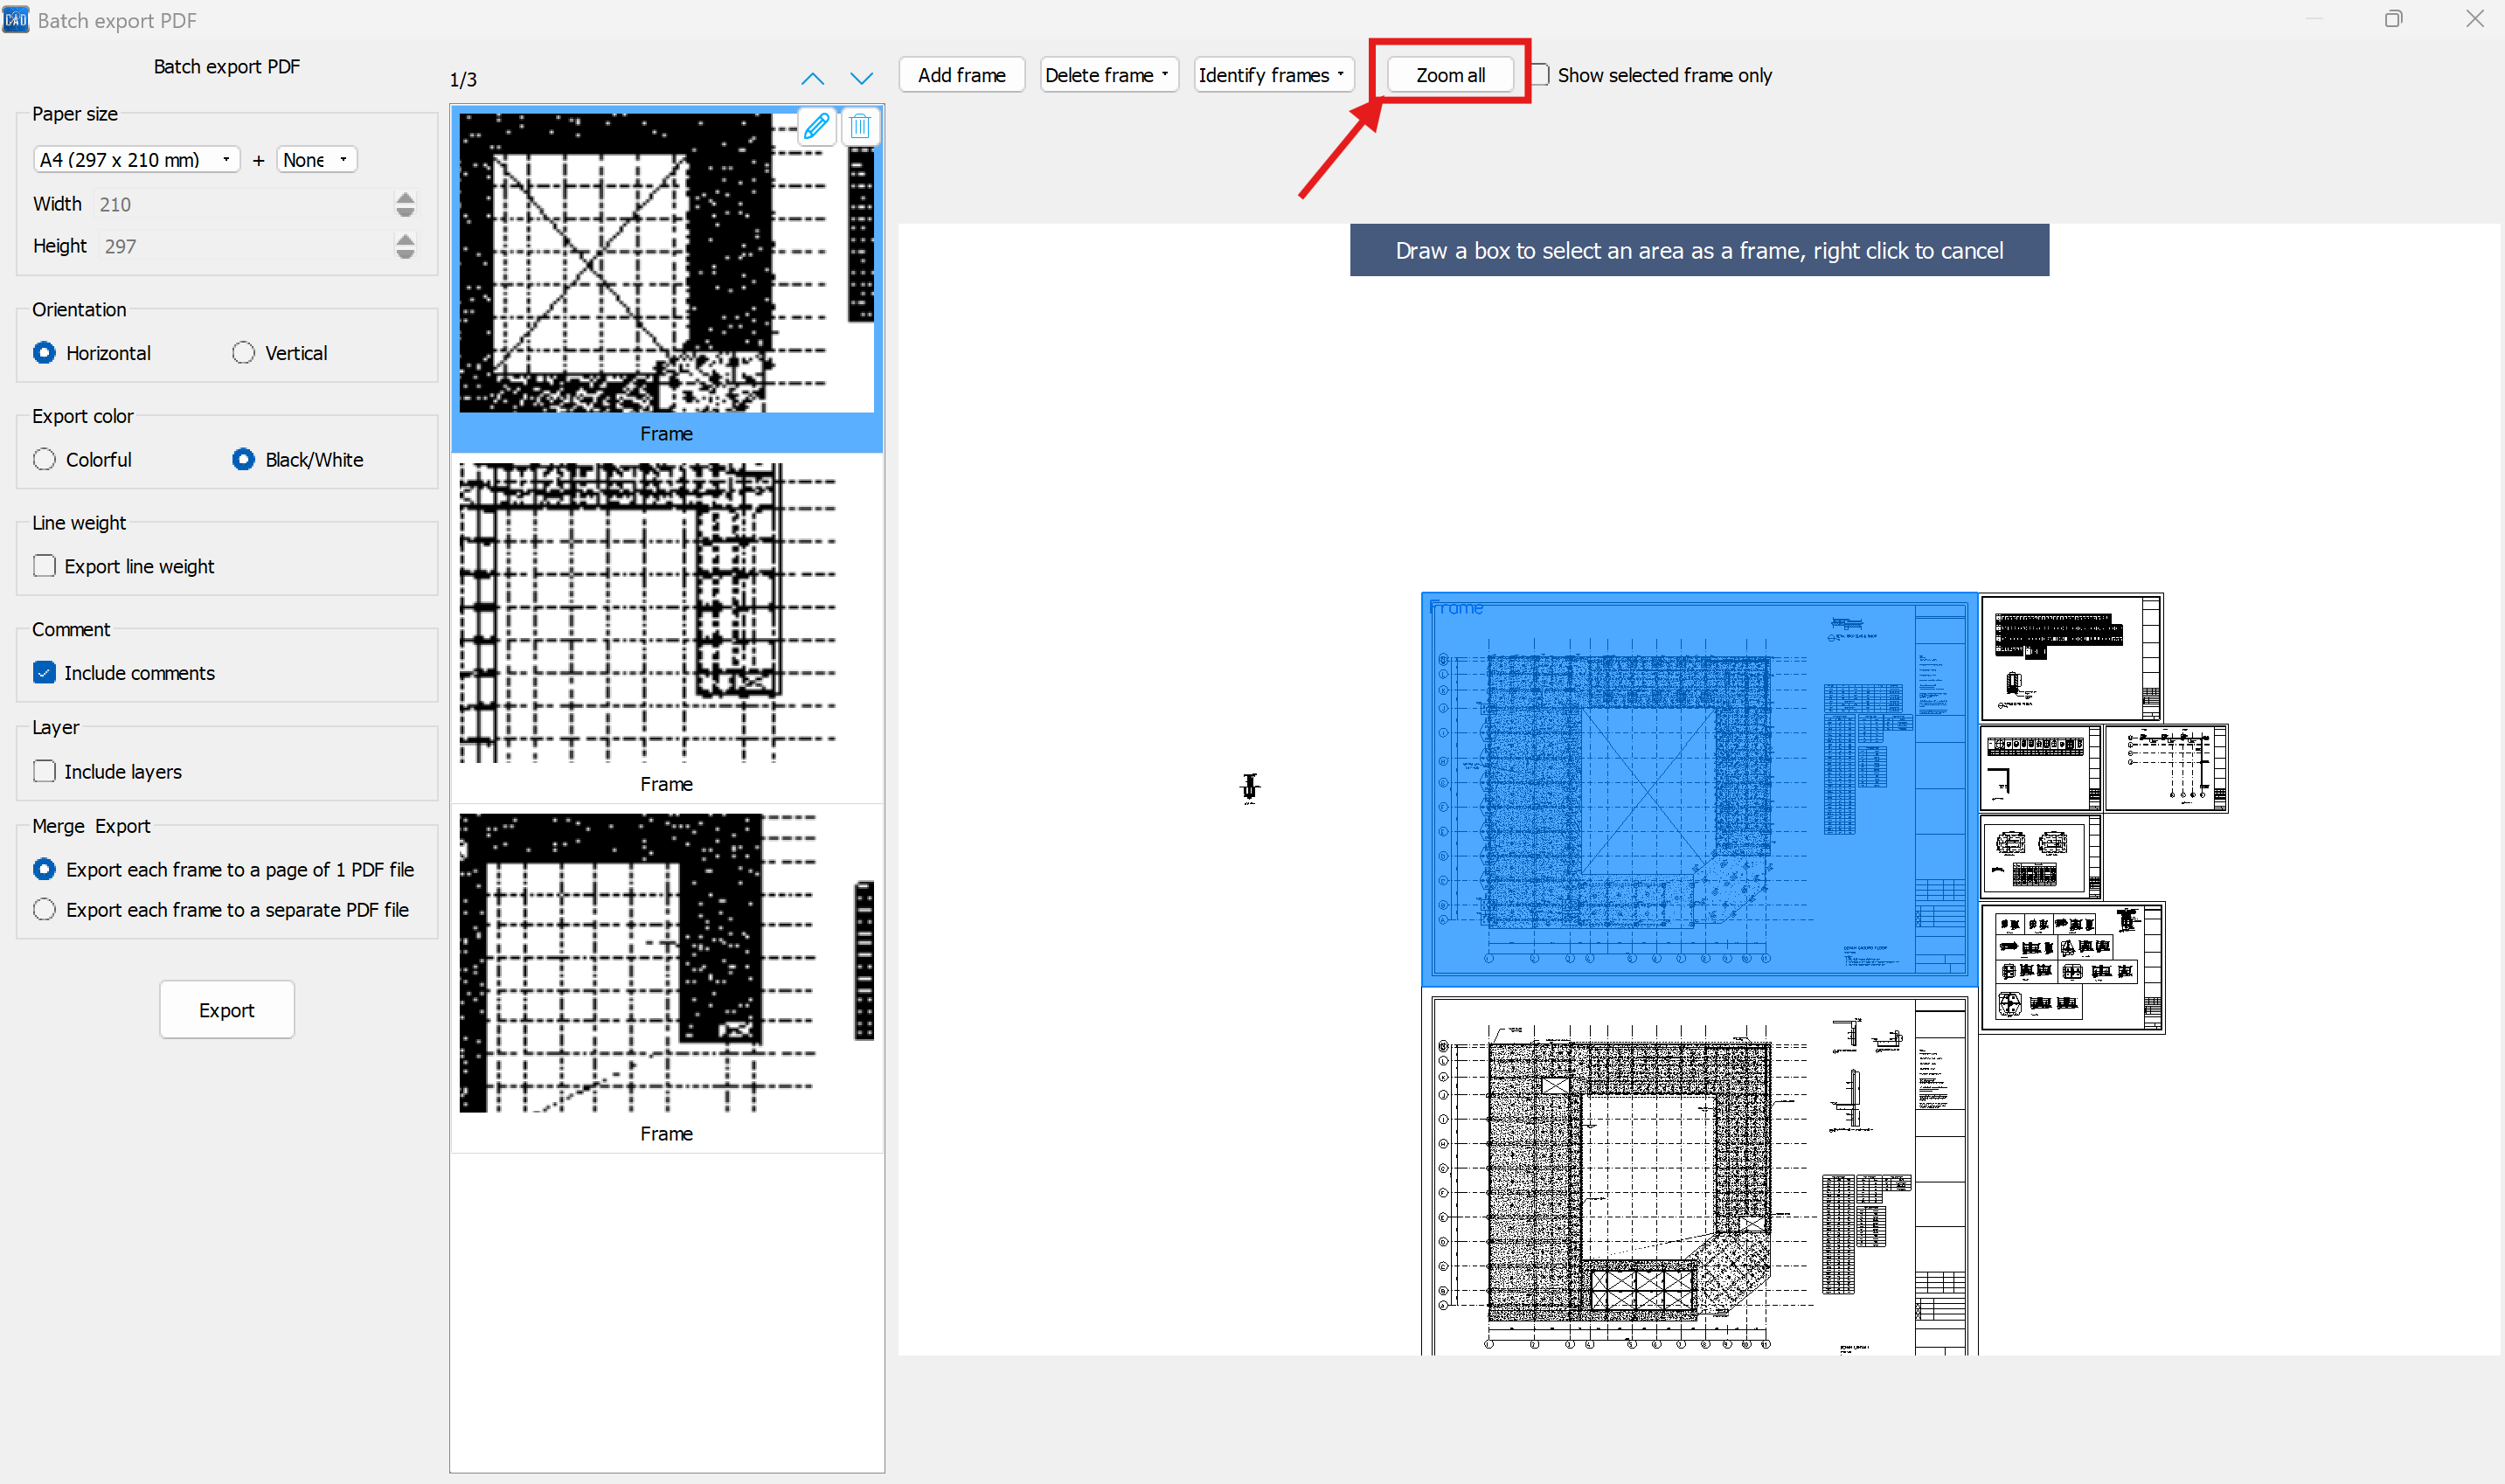
12. Click Zoom All to get a bird's-eye view of all the CAD drawings.
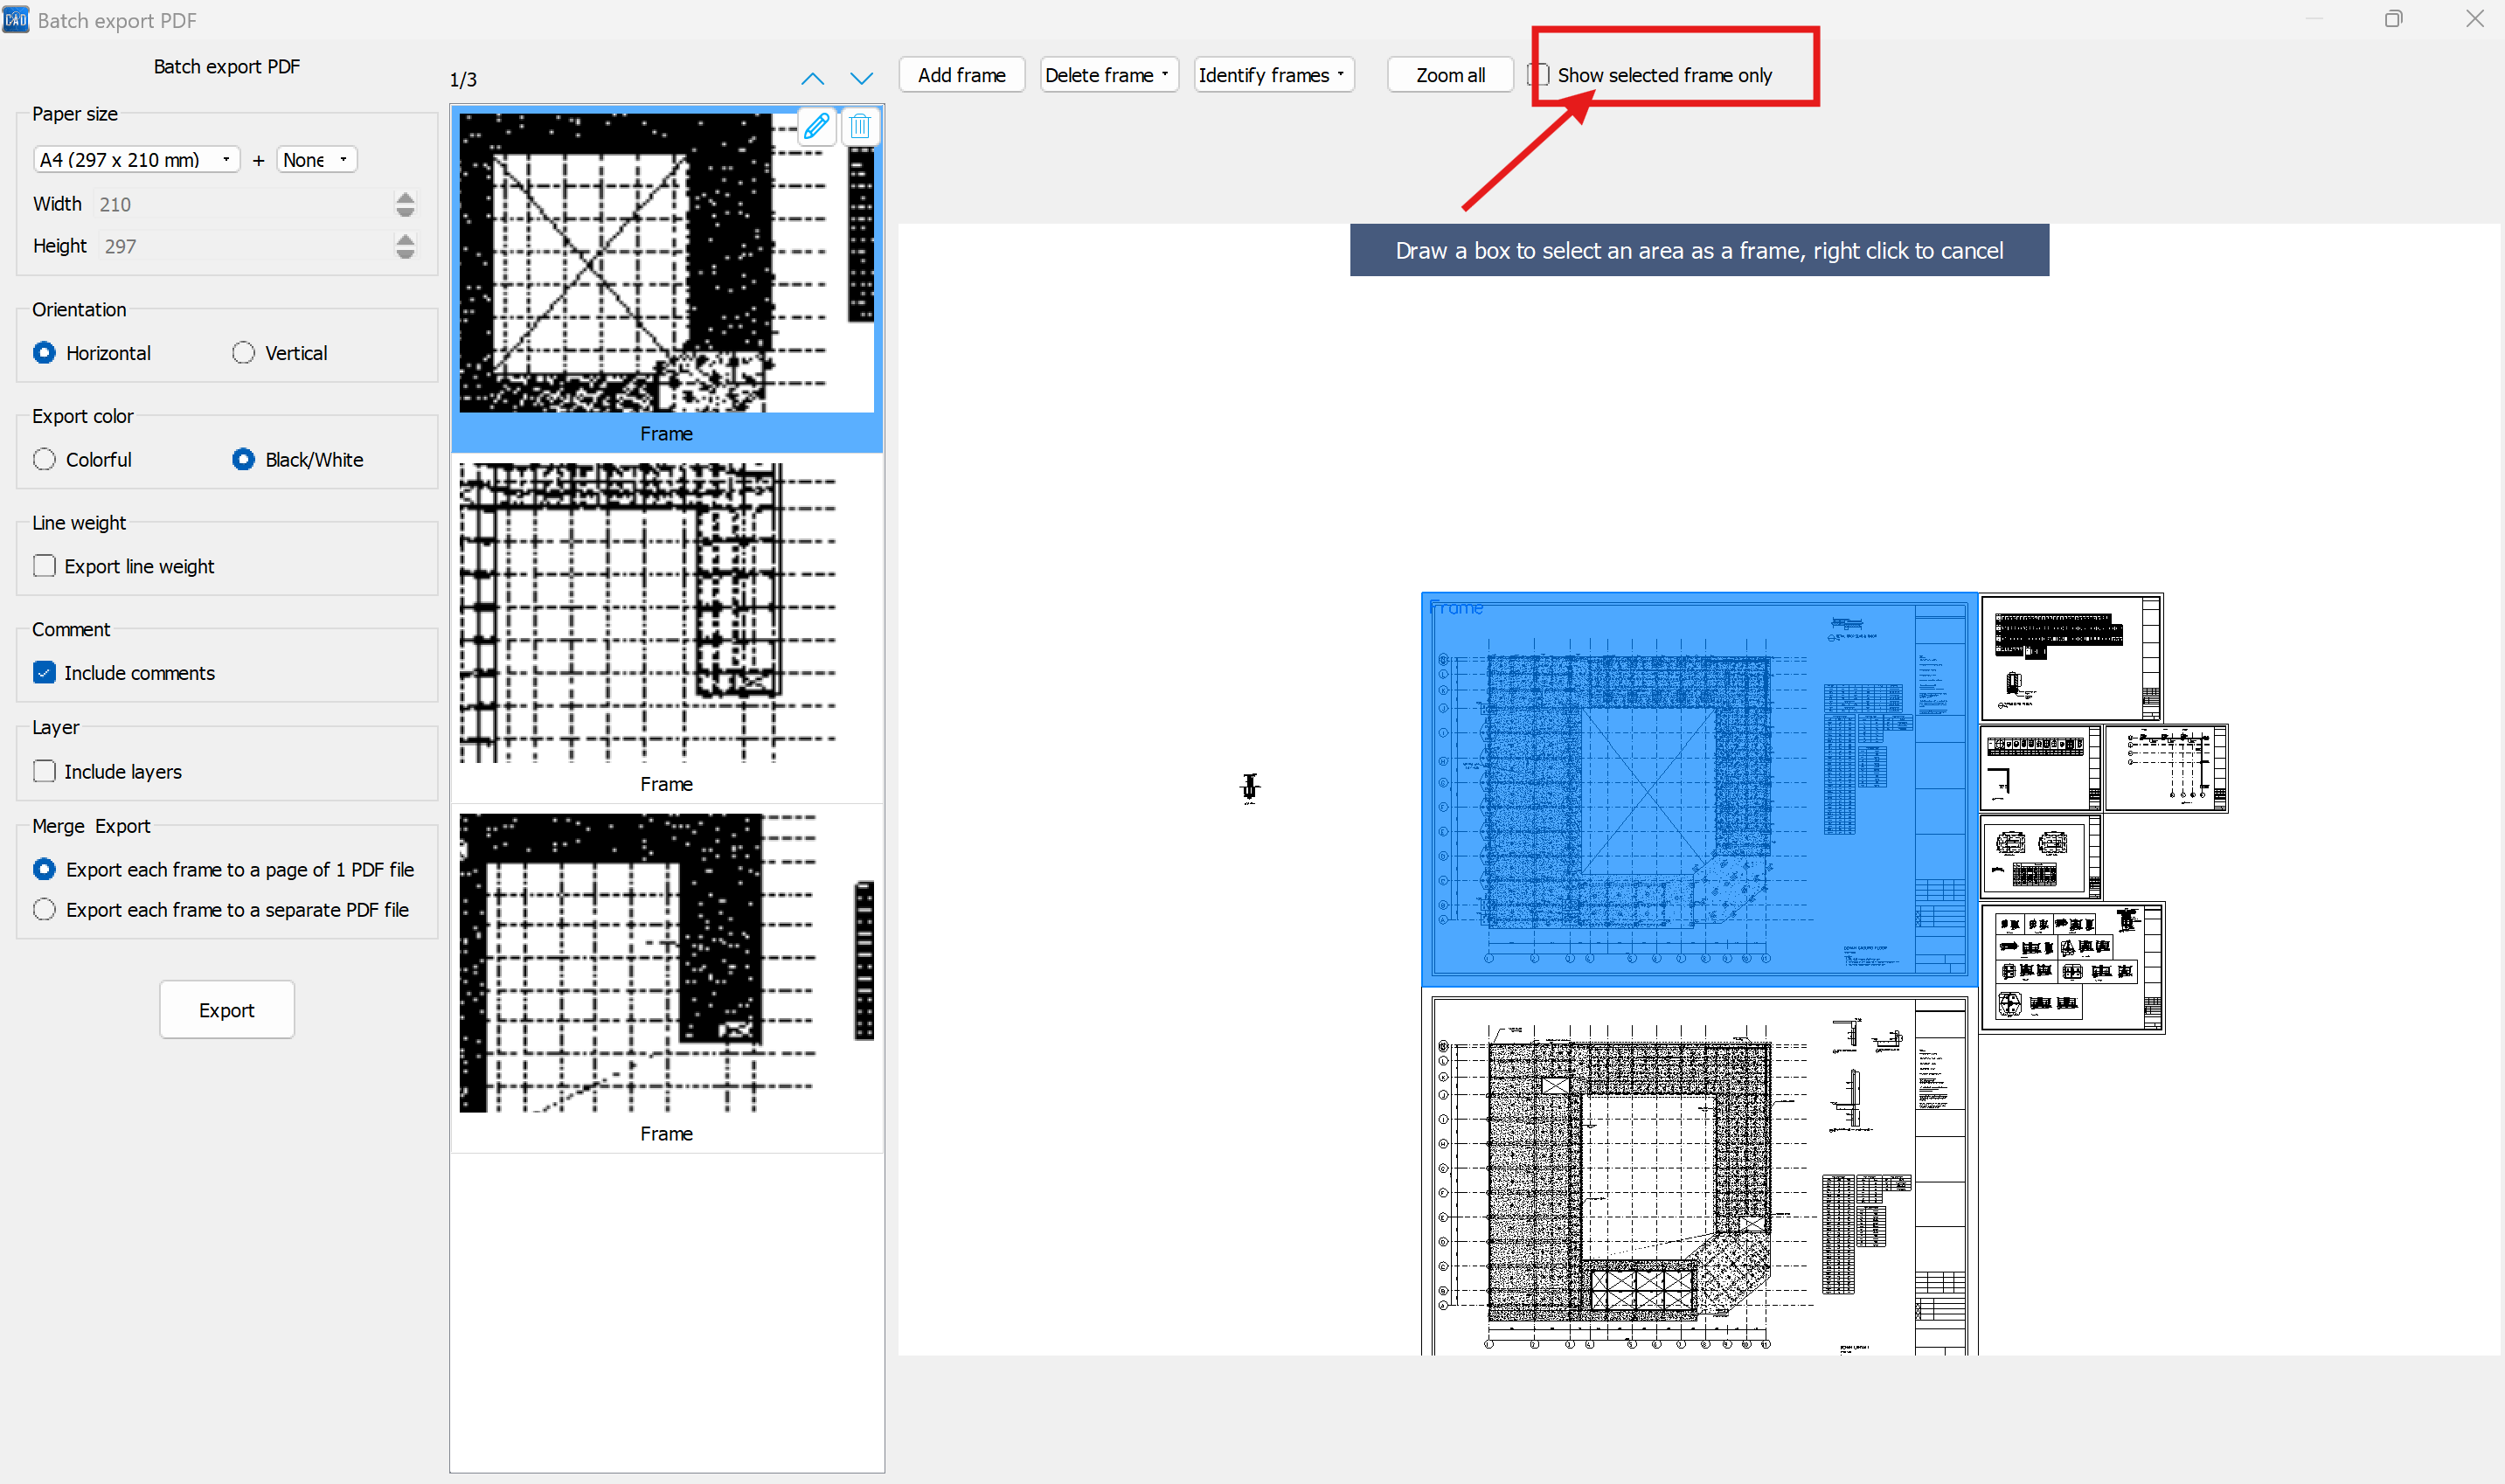
13. Check the Show selected frame only box to isolate a single frame in the main display area.
14. Once your split range and file names are confirmed, then configure Print Settings.
15. Adjust paper size, orientation, color, line weights, and layer/comment options.
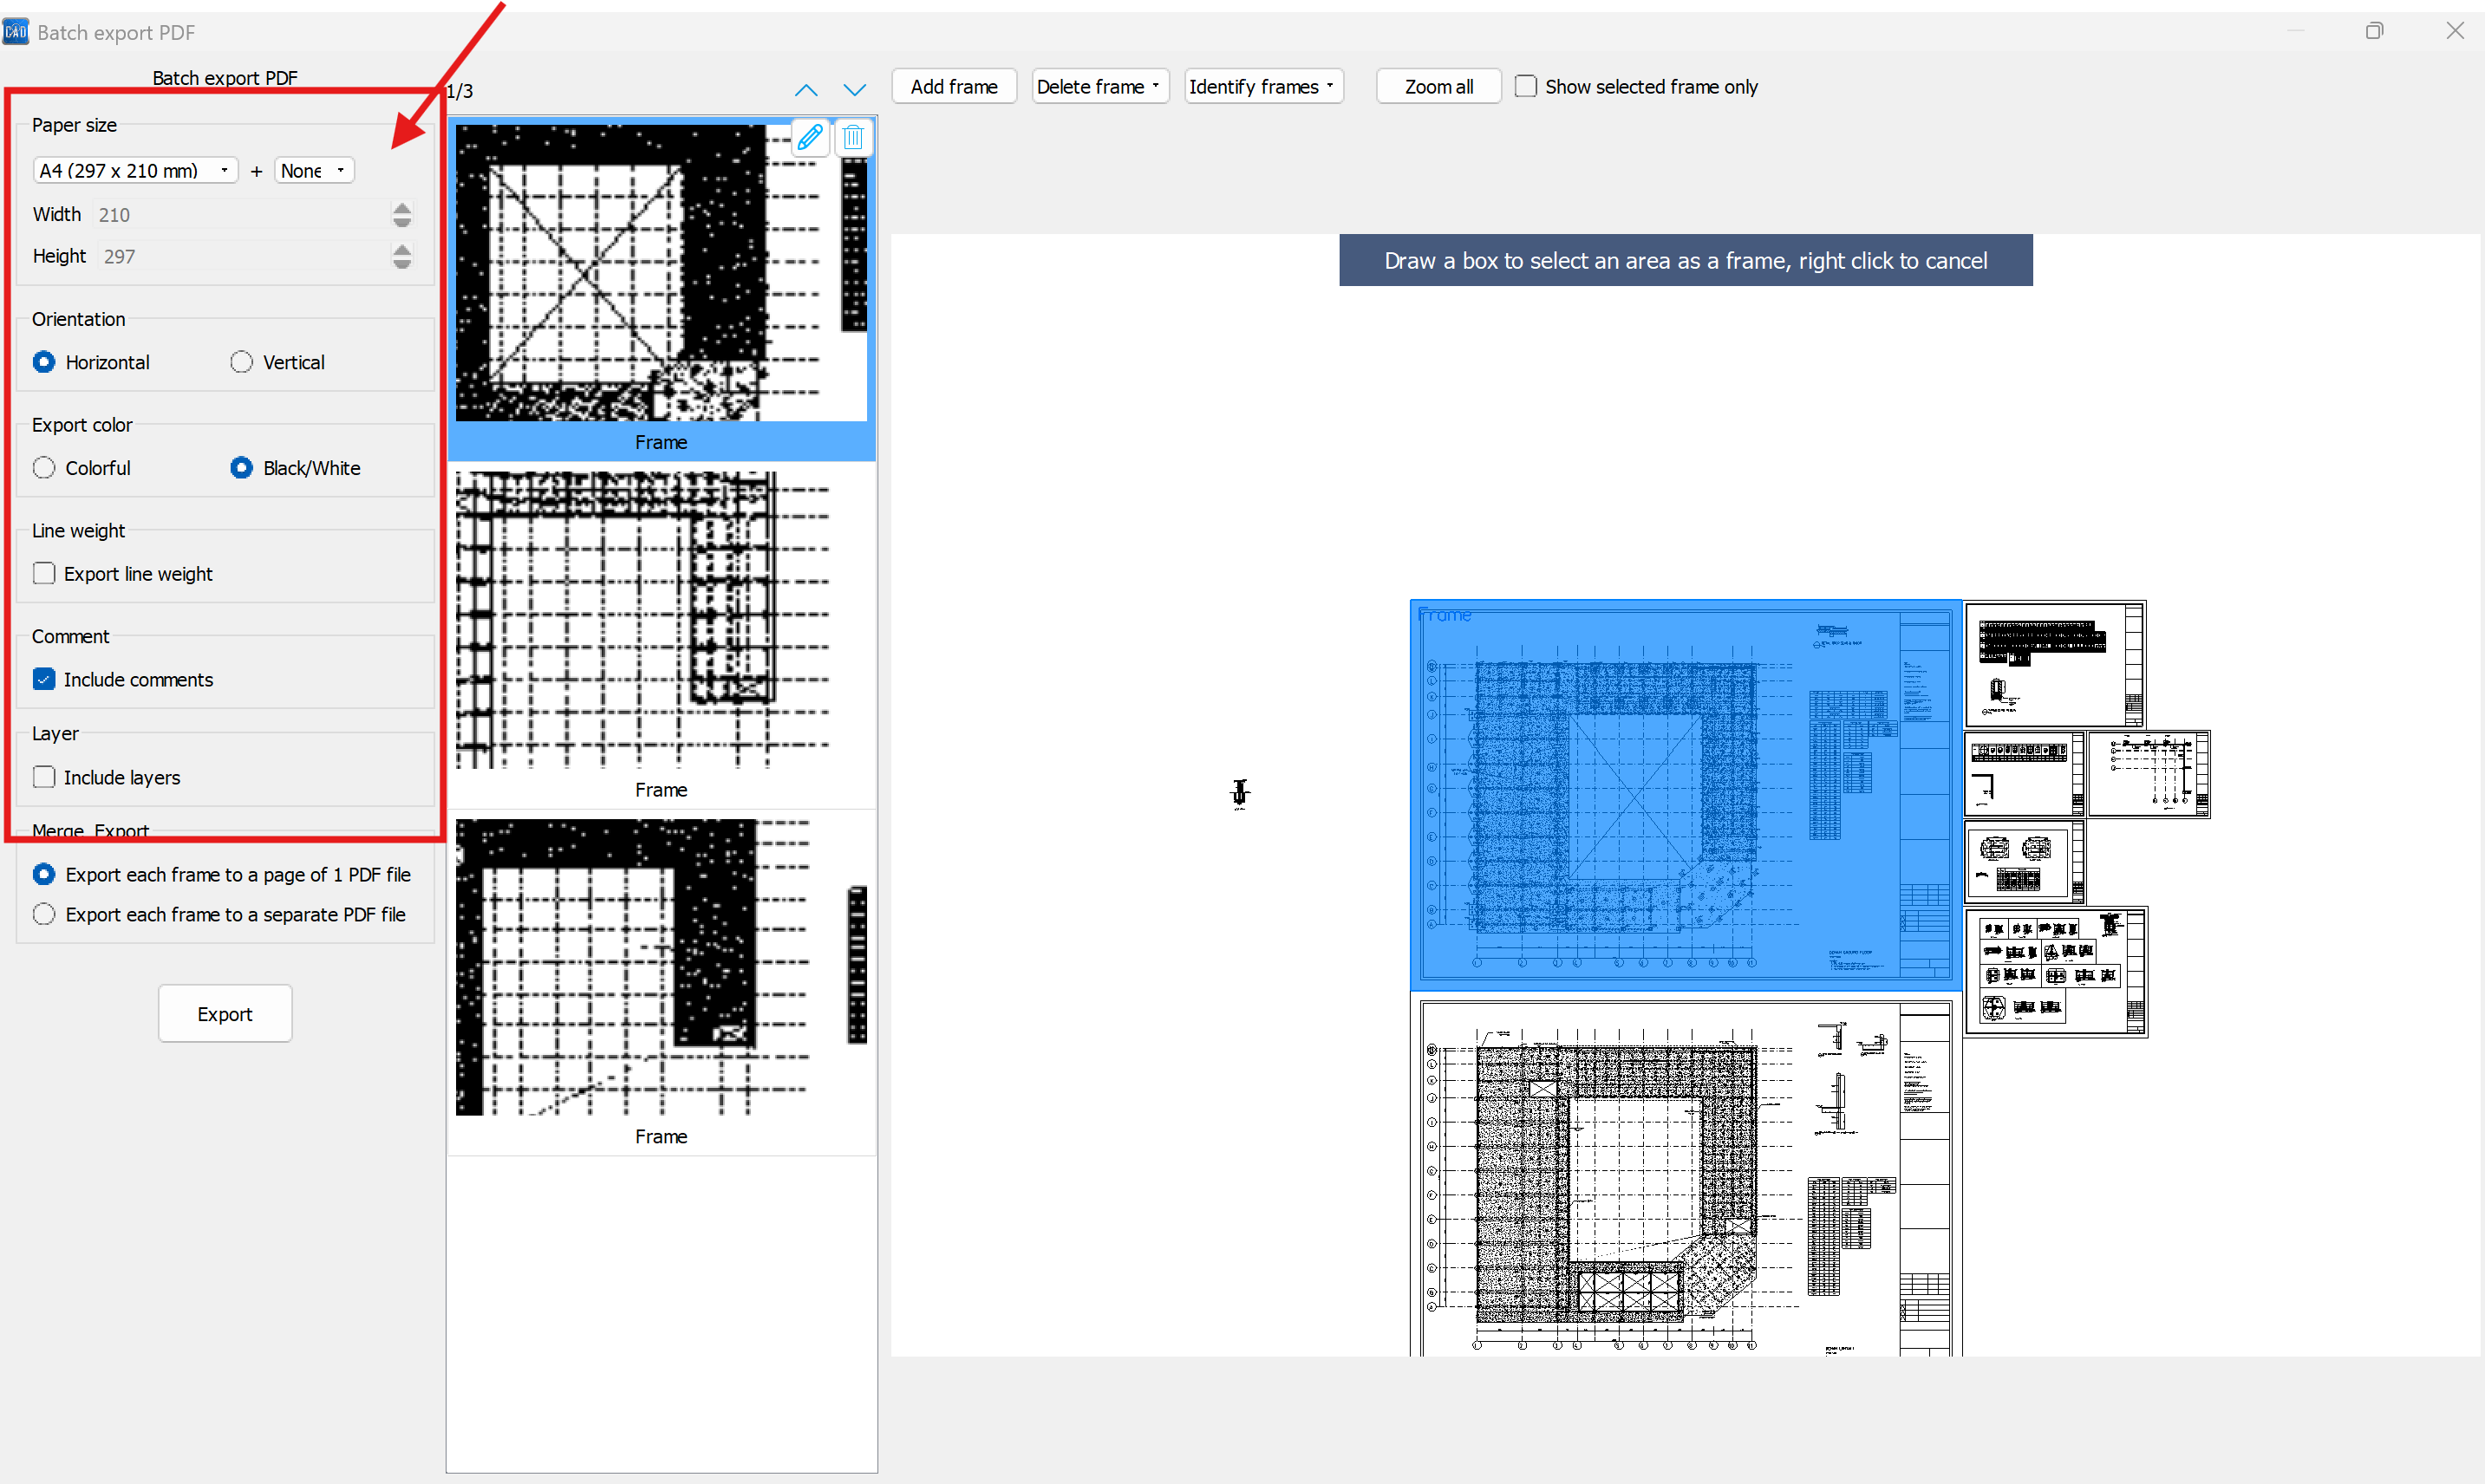
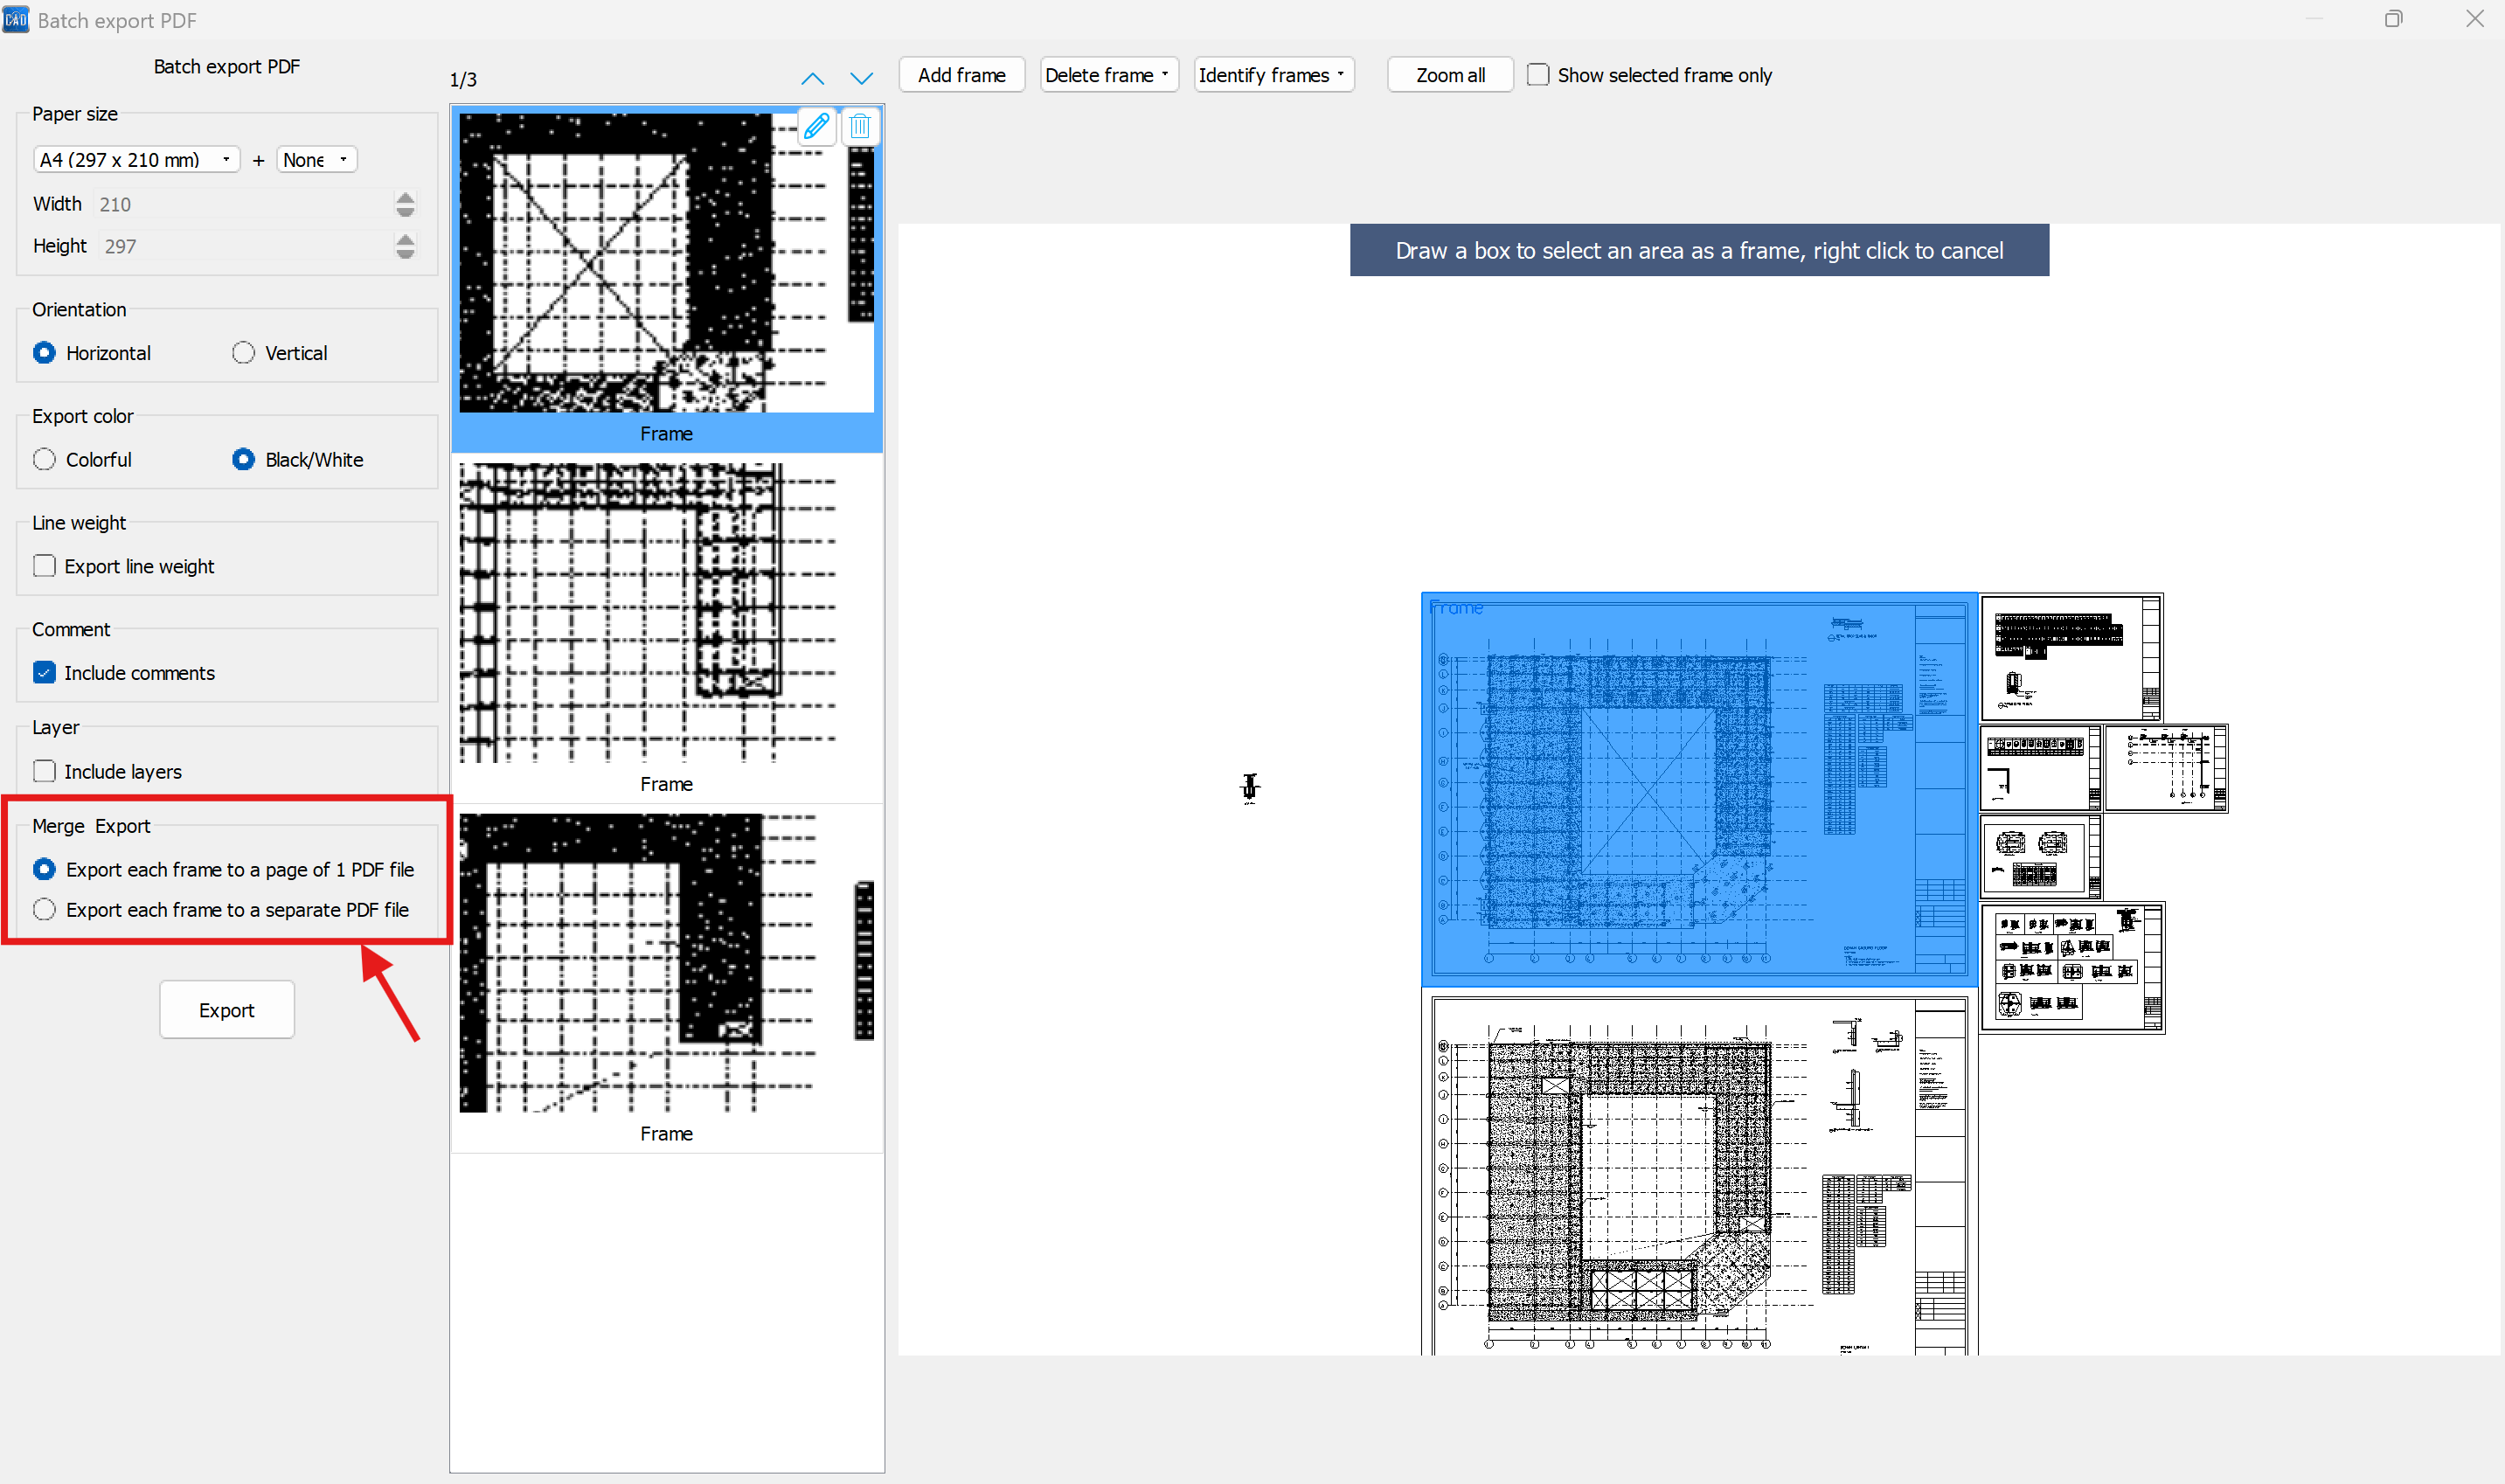
16. Choose to export as a single PDF or separate PDF files.
17. Click Export and specify your preferred destination folder.
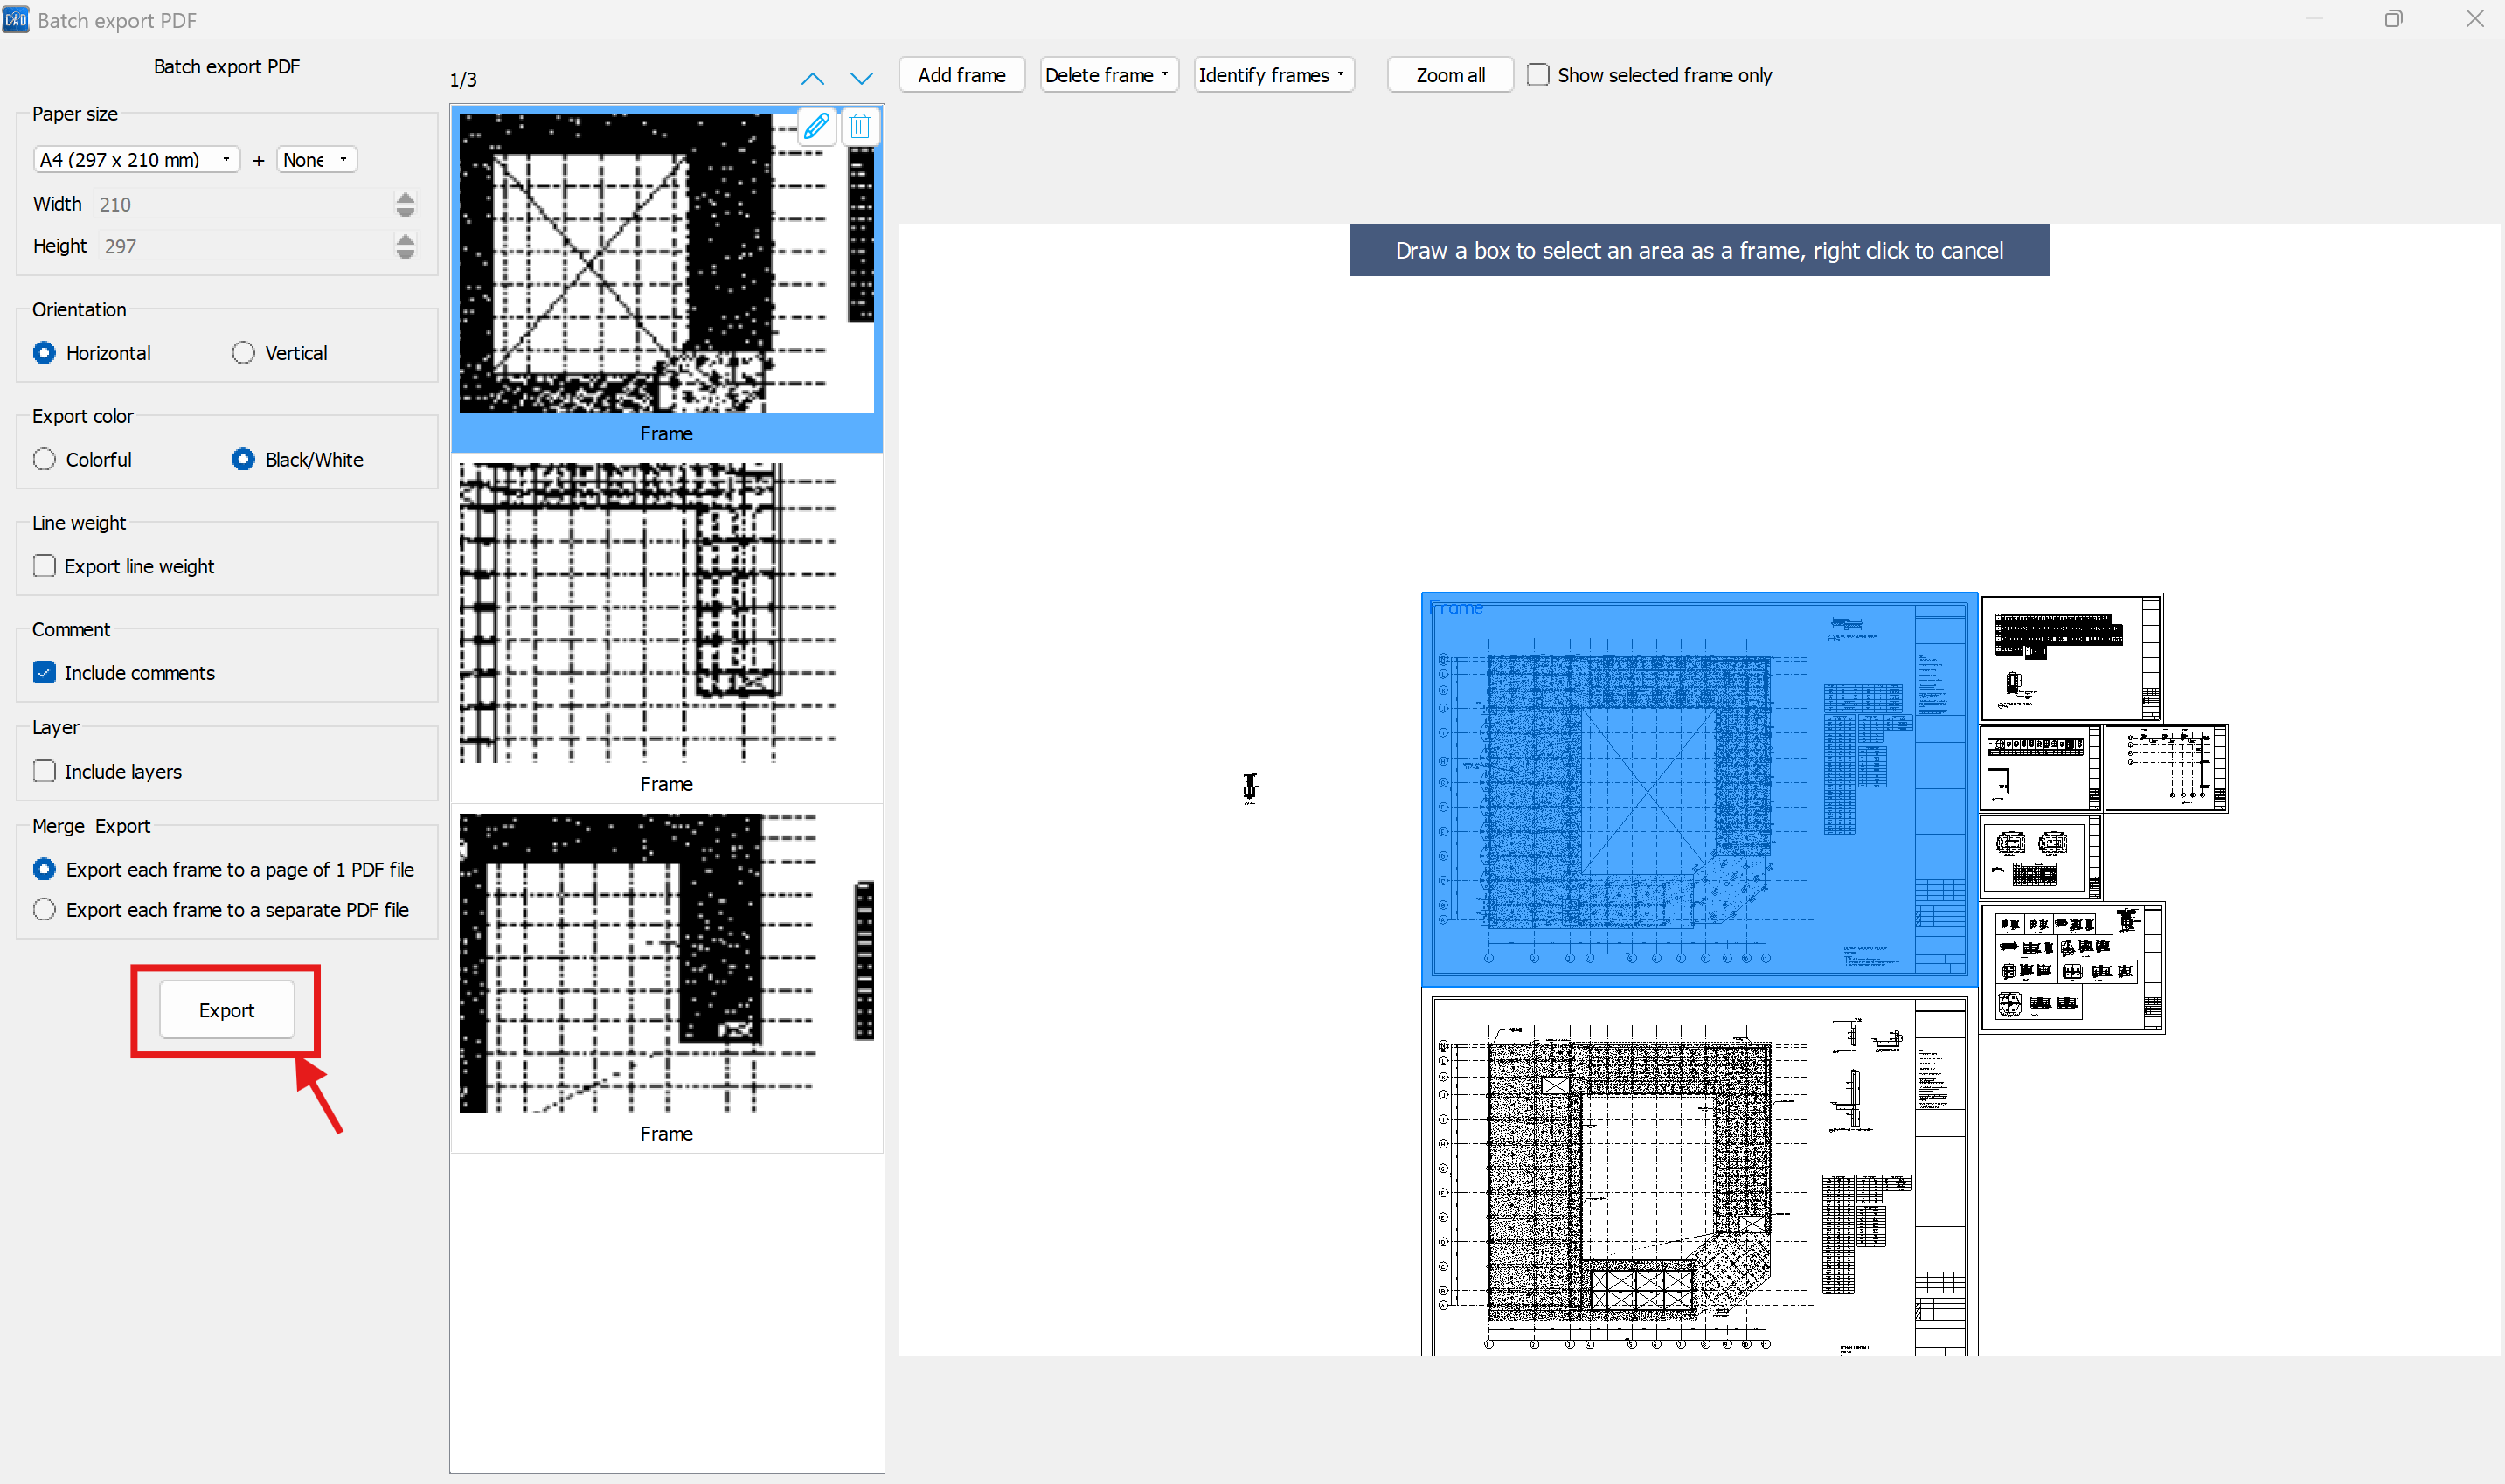
18. Click Save to instantly generate and store all PDF drawing files.
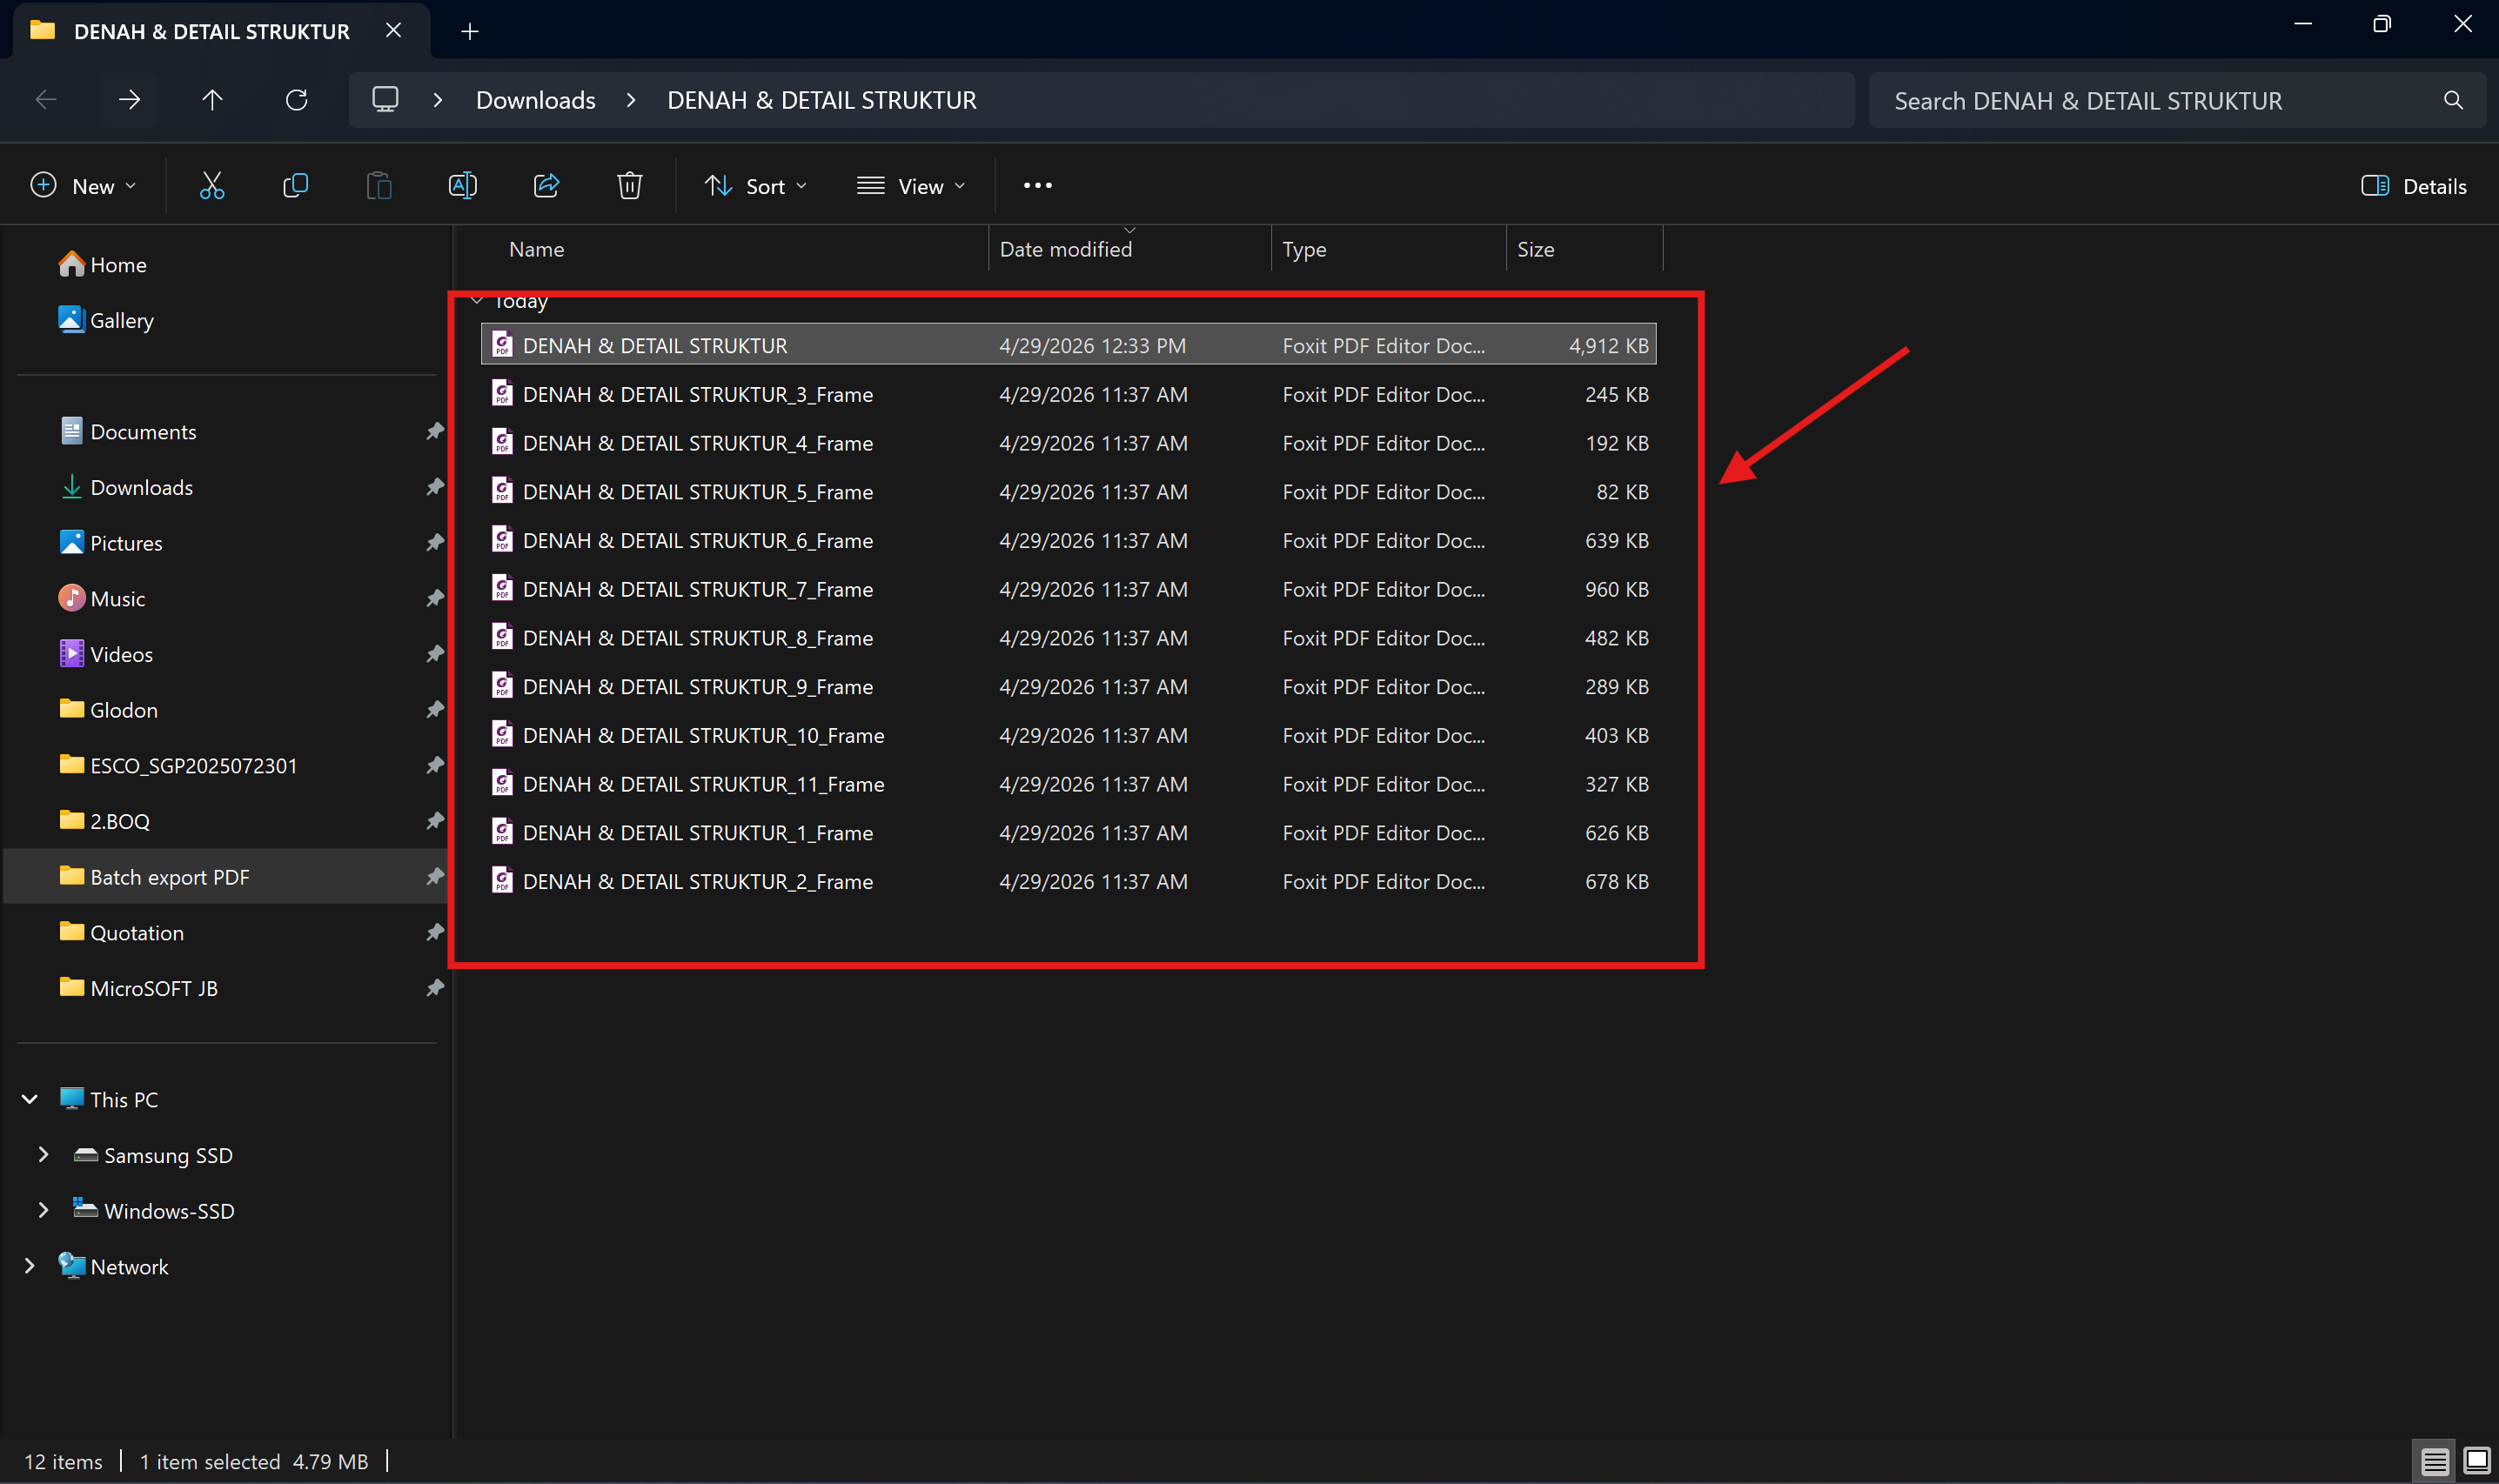
19. The export process is now complete.
20. If you select “Export each frame to a page of 1 PDF file,” all drawing sheets will be compiled into a single PDF document.
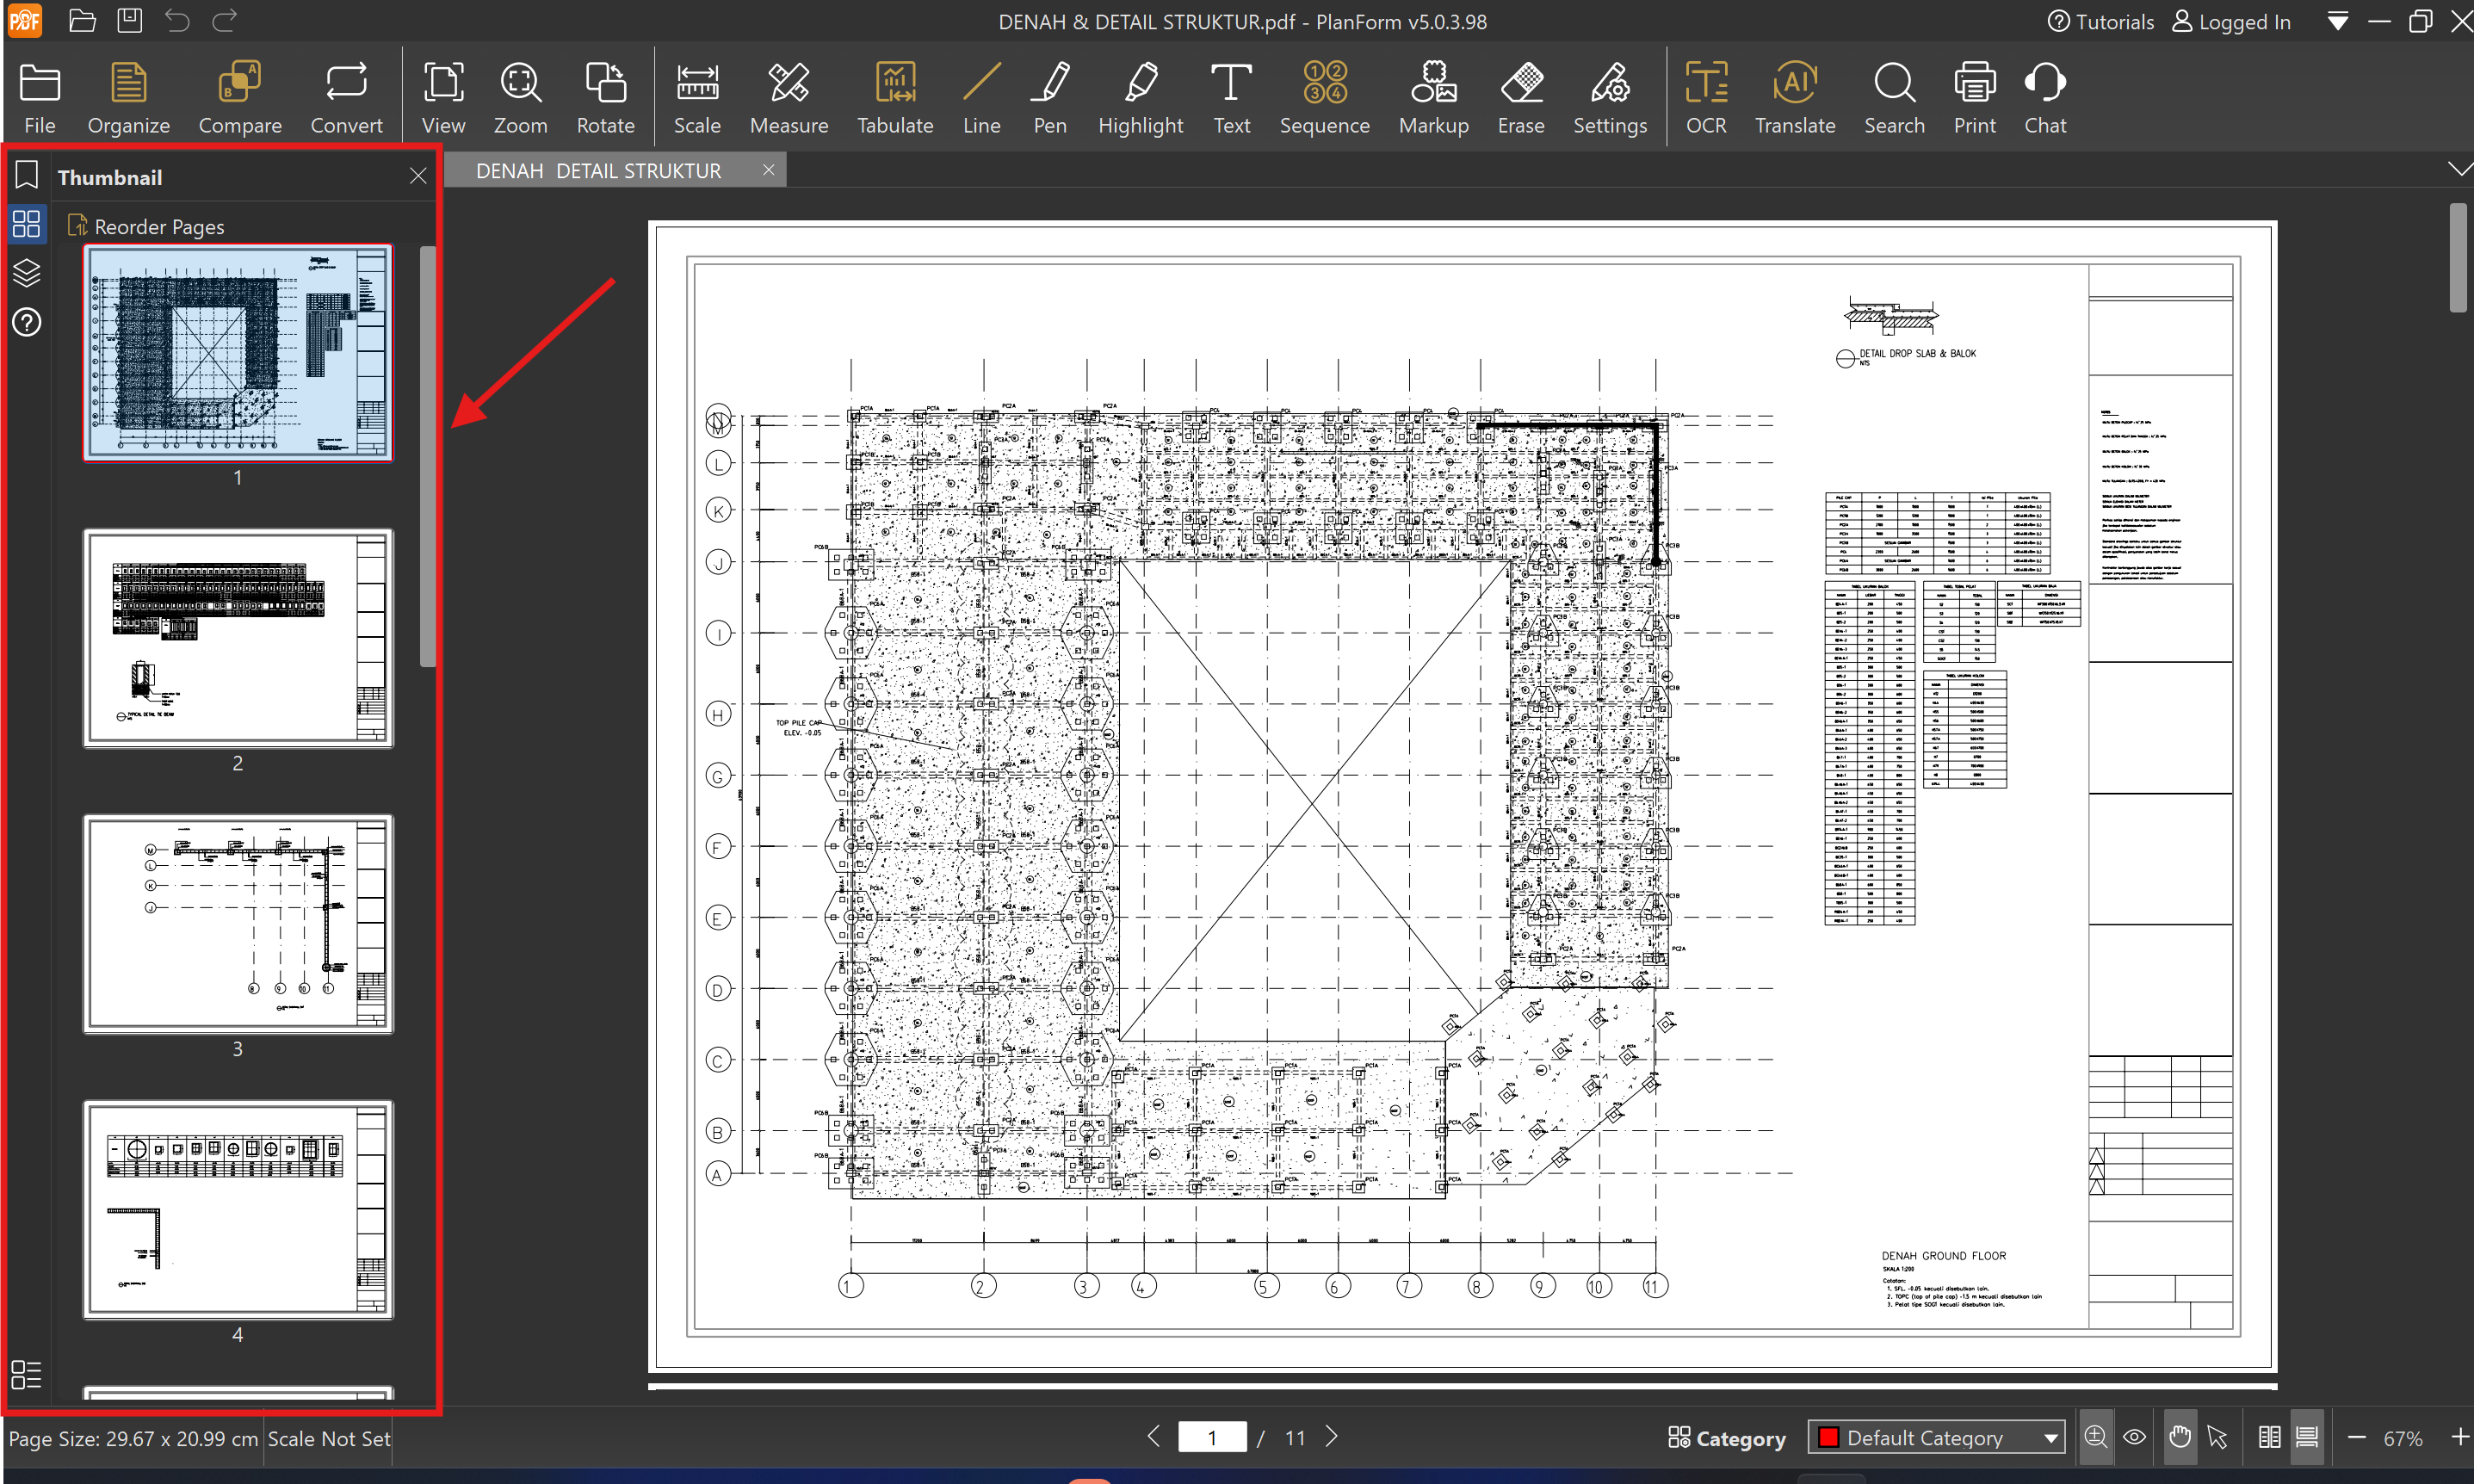
21. If you select “Export each frame to a separate PDF file,” all drawing sheets will be generated as individual PDF documents, one file per frame.